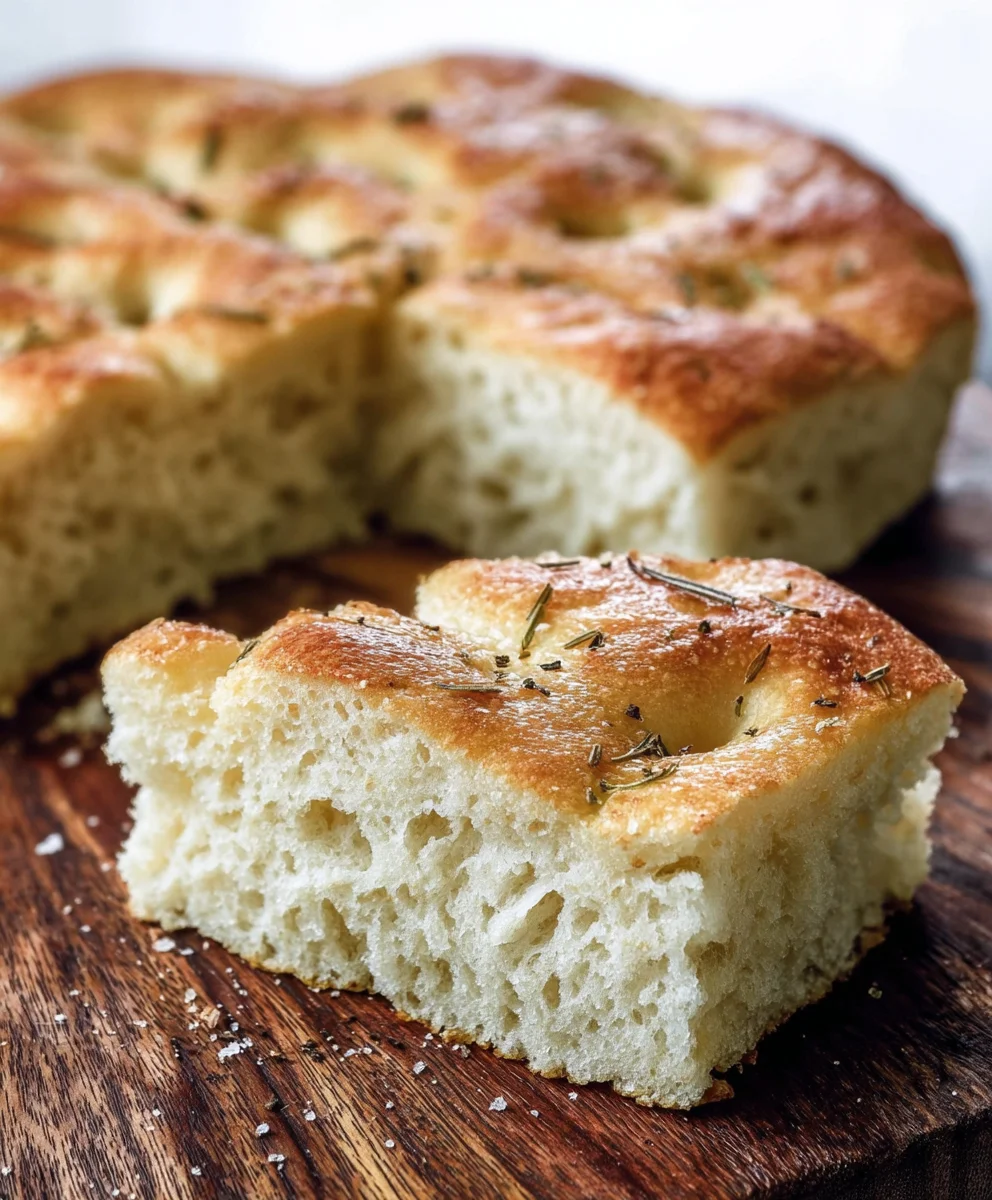
Easy No-Knead Focaccia Bread Recipe
No-knead focaccia bread has a magical way of transforming simple ingredients into something truly extraordinary. Imagin extracte a golden-brown crust, impossibly airy and tender within, with a delightful chew that begs for another bite. This isn’t just bread; it’s an experience. For many, the allure of no-knead focaccia bread lies in its deceptive simplicity. You don’t need to be a seasoned baker to achieve bakery-worthy results. The magic happens through time and patience, allowing the dough to develop its incredible flavor and texture with minimal effort. What makes this particular no-knead focaccia bread so special is its adaptability. Whether you’re topping it with fragrant rosemary and sea salt, sweet cherry tomatoes and garlic, or a sprinkle of your favorite herbs, it serves as the perfect canvas for culinary creativity. It’s the ultimate crowd-pleaser, a comforting staple that elevates any meal, from a casual weeknight dinner to a celebratory gathering.
Ingredients:
- 4¾ cups all-purpose flour (approximately 630 grams)
- 4½ tablespoons olive oil, plus more for greasing
- 2 teaspoons fine sea salt (approximately 12 grams)
- 1½ tablespoons instant dry yeast (approximately 13 grams)
- 2⅓ cups warm water (between 100–110°F; approximately 529 grams)
- Coarse sea salt, for topping (optional)
- Dried rosemary, for topping (optional)
Preparing the Dough
Mixing the Dough
This no-knead focaccia bread recipe is wonderfully forgiving and requires minimal hands-on time, making it perfect for even novice bakers. Begin extract by gathering all your ingredients. In a large mixing bowl, combine the 4¾ cups of all-purpose flour, 2 teaspoons of fine sea salt, and 1½ tablespoons of instant dry yeast. Whisk these dry ingredients together thoroughly to ensure the yeast and salt are evenly distributed throughout the flour. This even distribution is crucial for consistent leavening and flavor development. Next, create a well in the center of the dry ingredients. Pour the 2⅓ cups of warm water into this well. The water should be warm to the touch, not hot, as very hot water can kill the yeast, and cold water won’t activate it properly. Aim for that sweet spot of 100–110°F (around 37–43°C). Now, add the 4½ tablespoons of olive oil to the wet ingredients. Using a sturdy spoon or a spagin extracta, begin to mix everything together. Continue mixing until just combined. The dough will look shaggy and sticky, and that’s exactly what you want. Resist the urge to add more flour at this stage, as the stickiness is what contributes to the bread’s airy, open crum extractb. Ensure there are no dry pockets of flour remaining.
First Rise (Bulk Fermentation)
Once you have a shaggy, cohesive dough, cover the bowl tightly with plastic wrap or a damp kitchen towel. Place the bowl in a warm, draft-free spot to rise. This is where the magic of no-knead baking happens. The dough will ferment and develop gluten on its own without any manual kneading. Let the dough rise for at least 12 hours, or preferably up to 18-24 hours. The longer the rise, the more complex the flavor will become, and the airier the texture will be. You’ll know it’s ready when it has doubled or even tripled in size and is full of bubbles. This slow fermentation develops wonderful flavor and texture without the effort of kneading.
Shaping and Second Rise
Preparing the Baking Pan
When you’re ready to bake, generously grease a 9×13 inch baking pan (or a similar sized rimmed baking sheet) with olive oil. You want a good amount of oil, at least 1 to 2 tablespoons, to coat the bottom and sides of the pan. This will help create a beautifully crisp bottom crust for your focaccia. Some bakers even like to add a little extra olive oil right before placing the dough in the pan.
Transferring and Dimpling the Dough
Gently scrape the risen dough from the bowl into the prepared baking pan. The dough will be very sticky and spread easily. You can use oiled hands or a lightly oiled spatula to help coax it into the pan. Don’t worry if it doesn’t fill the pan perfectly at this point; it will continue to spread. Now, let the dough rest in the pan, uncovered, for another 1 to 2 hours at room temperature. During this time, it will relax and spread further, filling the pan. Once the dough has relaxed and spread significantly, it’s time to dimple it. Lightly oil your fingertips and gently press them into the surface of the dough, creating indentations all over. These dimples are characteristic of focaccia and help the olive oil and toppings penetrate the dough, creating a wonderful texture and flavor. Be gentle, as you don’t want to deflate all the air bubbles you’ve worked so hard to develop.
Baking the Focaccia
Preheating and Topping
While the dough is undergoing its second rise and dimpling, preheat your oven to 425°F (220°C). This high heat is essential for achieving a perfectly golden and crispy exterior. Once the dough has finished its second rise and you’ve dimpled it, it’s time for the final flourish. Drizzle more olive oil generously over the surface of the dough, letting it pool slightly in the dimples. If you’re using them, sprinkle the coarse sea salt and dried rosemary evenly over the top. The coarse salt will provide a delightful crunch and enhance the flavor, while the rosemary adds a fragrant, herbaceous note.
Baking and Cooling
Carefully place the baking pan into the preheated oven. Bake for 25 to 35 minutes, or until the focaccia is a deep golden brown on top and the bottom is nicely crisped. The exact baking time will depend on your oven. Keep an eye on it during the last 10 minutes to ensure it doesn’t over-brown. Once baked to perfection, remove the focaccia from the oven. Immediately, you can brush it with a little more olive oil while it’s still hot for an extra glossy finish and added flavor, though this is entirely optional. Allow the focaccia to cool in the pan for a few minutes before carefully transferring it to a wire rack to cool completely. This allows the bottom crust to remain crisp. Enjoy slices of this delicious, airy, and flavorful No-Knead Focaccia Bread!
Conclusion:
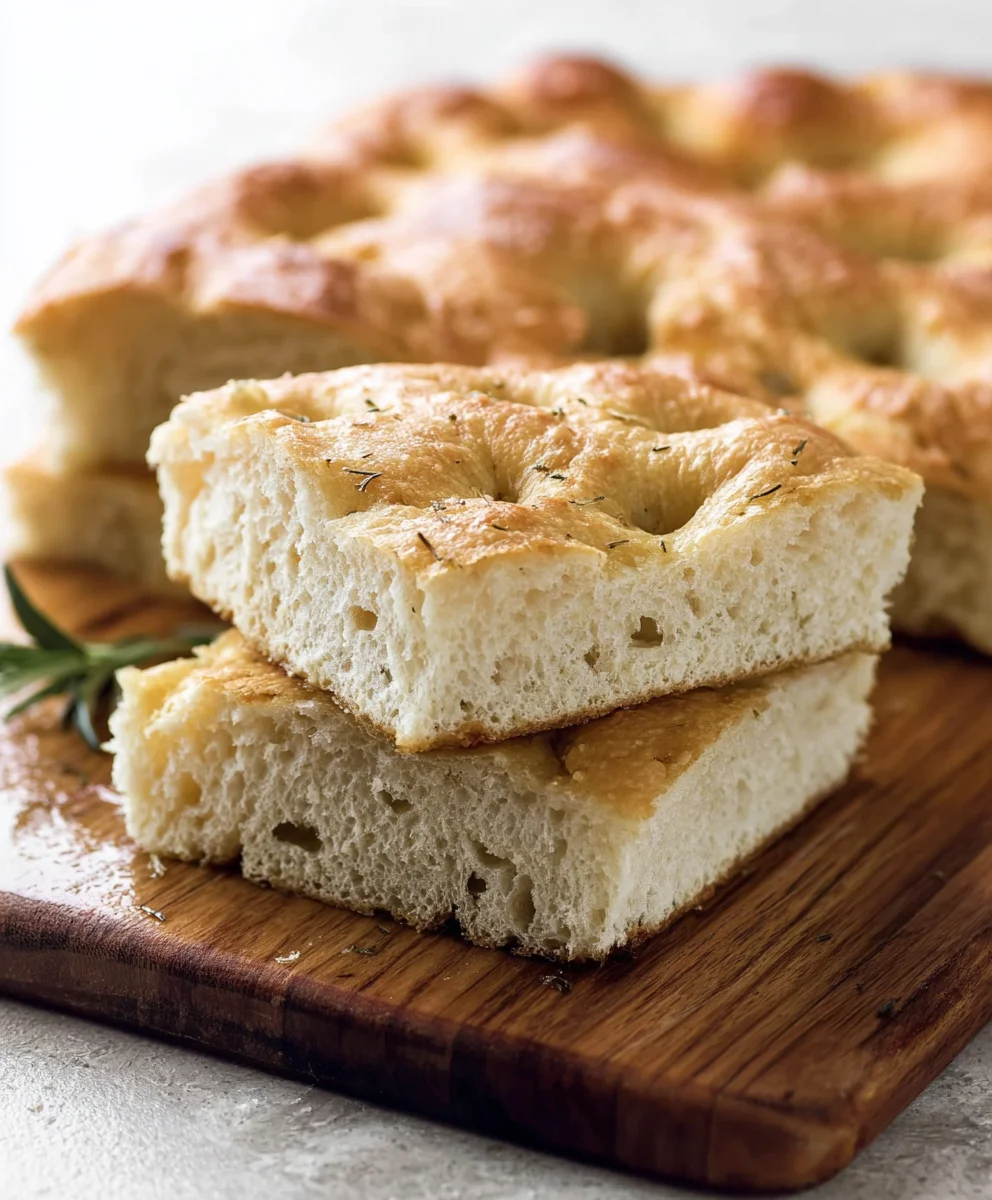
And there you have it! Your incredible, rustic No-Knead Focaccia Bread is ready to impress. This recipe proves that you don’t need hours of kneading or advanced baking skills to achieve a wonderfully airy interior and a satisfyingly crisp crust. The beauty of this focaccia lies in its simplicity, allowing the rich olive oil and fragrant rosemary (or your chosen herbs) to shine through. It’s the perfect centerpiece for any meal, a delightful accompaniment to soups and salads, or a standalone snack that’s hard to resist.
I encourage you to experiment with different toppings! Consider cherry tomatoes, slivered onions, Kalamata olives, or a sprinkle of sea salt for an extra burst of flavor. This No-Knead Focaccia Bread is incredibly versatile and forgiving, making it ideal for bakers of all levels. Enjoy the process and savor every delicious bite!
Frequently Asked Questions:
Q1: How do I store leftover No-Knead Focaccia Bread?
Once completely cooled, you can store your No-Knead Focaccia Bread in an airtight container at room temperature for up to 2 days. For longer storage, wrap it tightly in plastic wrap and then aluminum foil, and freeze for up to 1 month. Reheat slices in a moderate oven or toaster oven to refresh their crispness.
Q2: Can I use different herbs or toppings for my No-Knead Focaccia Bread?
Absolutely! The beauty of this recipe is its adaptability. While rosemary is classic, feel free to use thyme, oregano, or a mix of your favorite herbs. Other fantastic topping ideas include sliced garlic, sun-dried tomatoes, olives, capers, or even a sprinkle of Parmesan cheese before baking.
Easy No-Knead Focaccia Bread
A simple and forgiving focaccia bread recipe that requires no kneading, perfect for beginners. Enjoy its airy crumb and crispy crust.
Ingredients
-
4¾ cups all-purpose flour (630 grams)
-
4½ tablespoons olive oil (59 grams), plus more for greasing
-
2 teaspoons fine sea salt (12 grams)
-
1½ tablespoons instant dry yeast (13 grams)
-
2⅓ cups warm water (100–110°F; 529 grams)
-
Coarse sea salt, for topping (optional)
-
Dried rosemary, for topping (optional)
Instructions
-
Step 1
In a large bowl, whisk together flour, fine sea salt, and instant dry yeast. Create a well in the center and pour in warm water and 4½ tablespoons olive oil. Mix with a spoon until just combined, forming a shaggy, sticky dough. -
Step 2
Cover the bowl tightly and let the dough rise in a warm, draft-free spot for 12-24 hours, or until doubled or tripled in size and bubbly. -
Step 3
Generously grease a 9×13 inch baking pan with olive oil. Gently scrape the risen dough into the pan and use oiled hands or a spatula to spread it. Let it rest uncovered for 1-2 hours to relax and spread further. -
Step 4
Preheat oven to 425°F (220°C). Once the dough has relaxed, lightly oil your fingertips and gently press them into the dough to create dimples all over. -
Step 5
Drizzle more olive oil generously over the surface, letting it pool in the dimples. Sprinkle with coarse sea salt and dried rosemary, if using. -
Step 6
Bake for 25-35 minutes, or until deep golden brown and crisped on the bottom. Optionally, brush with more olive oil immediately after baking. Cool in the pan for a few minutes, then transfer to a wire rack to cool completely.
Important Information
Nutrition Facts (Per Serving)
It is important to consider this information as approximate and not to use it as definitive health advice.
Allergy Information
Please check ingredients for potential allergens and consult a health professional if in doubt.