Easy No Knead Crusty Rolls-Best Bread Recipe
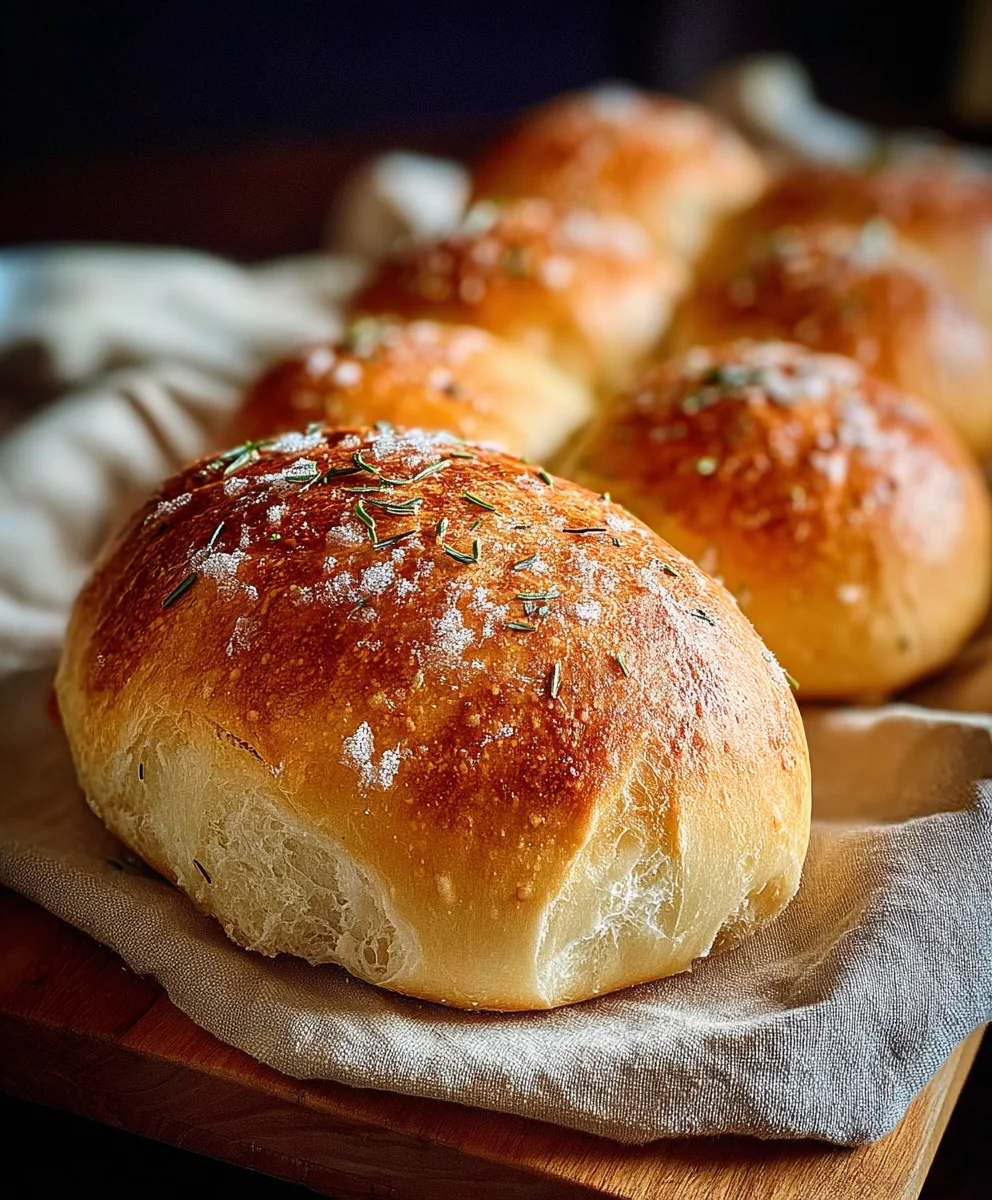
No Knead Crusty Rolls are the dream of bakers everywhere, offering that perfect balance of a deeply caramelized, shatteringly crisp exterior and a cloud-like, airy interior. There’s something profoundly satisfying about tearing into a warm, homemade roll, and this recipe makes that experience accessible to everyone, regardless of their baking prowess. Forget spending precious time and energy on laborious kneading; these miraculous rolls achieve their incredible texture through a clever, hands-off method that relies on time and a few simple ingredients. The magic of these No Knead Crusty Rolls lies in their simplicity and the incredible results they yield. They’re the perfect accompaniment to any meal, from a hearty soup to a gourmet cheese board, and their rustic charm is sure to impress your guests. Get ready to experience baking bliss with this foolproof recipe for No Knead Crusty Rolls!
Ingredients:
- 3 cups all-purpose flour, plus more for dusting
- 1 ½ teaspoons instant yeast
- 1 teaspoon salt
- 1 ½ cups lukewarm water (about 105-115°F / 40-46°C)
- 1 tablespoon olive oil, plus more for greasing
Preparing the Dough
The beauty of these No Knead Crusty Rolls lies in their simplicity, requiring minimal effort for maximum reward. We’ll start by combining the dry ingredients in a large bowl. This is where the magic begin extracts. In your largest mixing bowl, add the 3 cups of all-purpose flour. Next, sprinkle in the 1 ½ teaspoons of instant yeast. Instant yeast is fantastic because it doesn’t require pre-activation, meaning you can toss it right in with the dry ingredients. Finally, add the 1 teaspoon of salt. Salt is crucial not only for flavor but also for controlling the yeast’s activity and strengthening the gluten structure.
Once your dry ingredients are in the bowl, give them a quick whisk or stir with a fork to ensure everything is evenly distributed. This prevents pockets of undissolved yeast or salt. Now, it’s time for the wet ingredients. Pour in the 1 ½ cups of lukewarm water. The water temperature is important; it should be comfortably warm to the touch, not hot or cold. Too hot, and you risk killing the yeast; too cold, and it won’t activate properly. Aim for that sweet spot between 105-115°F (40-46°C). Finally, drizzle in the 1 tablespoon of olive oil. This adds a touch of richness and helps with the texture of the finished rolls.
Now, we’ll bring it all together. Using a wooden spoon or a sturdy spatula, mix the wet and dry ingredients until just combined. You’re looking for a shaggy, sticky dough. Don’t overmix; at this stage, we’re just ensuring there are no dry patches of flour remaining. The dough will be very wet and quite sticky, and that’s exactly what we want for a no-knead recipe. This stickiness is key to developing the airy, open crum extractb that makes these rolls so special.
First Rise (Bulk Fermentation)
Lightly grease the mixing bowl you used with a little extra olive oil, or transfer the dough to a clean bowl that you’ve oiled. Then, cover the bowl tightly with plastic wrap or a damp kitchen towel. Place the bowl in a warm, draft-free spot to rise. A great place is inside a slightly warmed oven (turned off, of course!) or on top of your refrigerator. Allow the dough to rise for at least 1 hour, or until it has at least doubled in size. This first rise, often called bulk fermentation, is where the yeast gets to work, producing carbon dioxide gas that creates those wonderful air pockets. The dough should look puffy and feel light.
Shaping the Rolls
Once your dough has impressively doubled in size, it’s time to shape our No Knead Crusty Rolls. Lightly flour a clean work surface. You don’t need to knead the dough; we’re going to gently coax it into shape. Use a bench scraper or a spatula to gently scrape the dough out of the bowl onto your floured surface. It will still be quite sticky, so don’t be alarmed. You can use a little more flour on your hands if needed, but try to use as little as possible to maintain the dough’s hydration.
Divide the dough into 8 equal portions. You can do this by eye or by using a kitchen scnon-alcoholic ale for precision. For each portion, gently fold the edges of the dough into the center to create a somewhat rounded ball. You’re not aiming for perfect smoothness; a rustic look is part of the charm. Think of it like gently tucking the dough in. Once you have your 8 rough balls, place them on a baking sheet that has been lined with parchment paper or lightly greased. Leave a good amount of space between them, as they will puff up considerably.
Second Rise (Proofing)
Now, cover the shaped rolls loosely with plastic wrap or a clean kitchen towel. You want to protect them from drying out but also allow them to expand. Let them rest and rise for another 30-45 minutes. During this second rise, also known as proofing, the dough will become noticeably puffier. You can gently poke one of the rolls; if the indentation springs back slowly, they are ready for baking. If it springs back immediately, they need a little more time. If it stays indented, they might be slightly over-proofed, but they will still bake up beautifully.
Baking the Rolls
This is the final, glorious stage! Preheat your oven to 450°F (230°C) about 20 minutes before you plan to bake. If you have a baking stone or steel, place it in the oven during preheating to get it nice and hot – this contributes to a fantastic crust. If not, a regular baking sheet will work perfectly.
When the rolls have finished their second rise and your oven is fully preheated, it’s time to bake. For an extra-crusty exterior, you can create steam in your oven. The easiest way to do this is to carefully place a heatproof pan (like an old metal loaf pan) on the bottom rack of your oven while it preheats. Just before you put the rolls in, carefully pour about 1 cup of hot water into this pan. Be very cautious of the steam that will erupt. Immediately place your baking sheet with the rolls onto the middle rack of the oven.
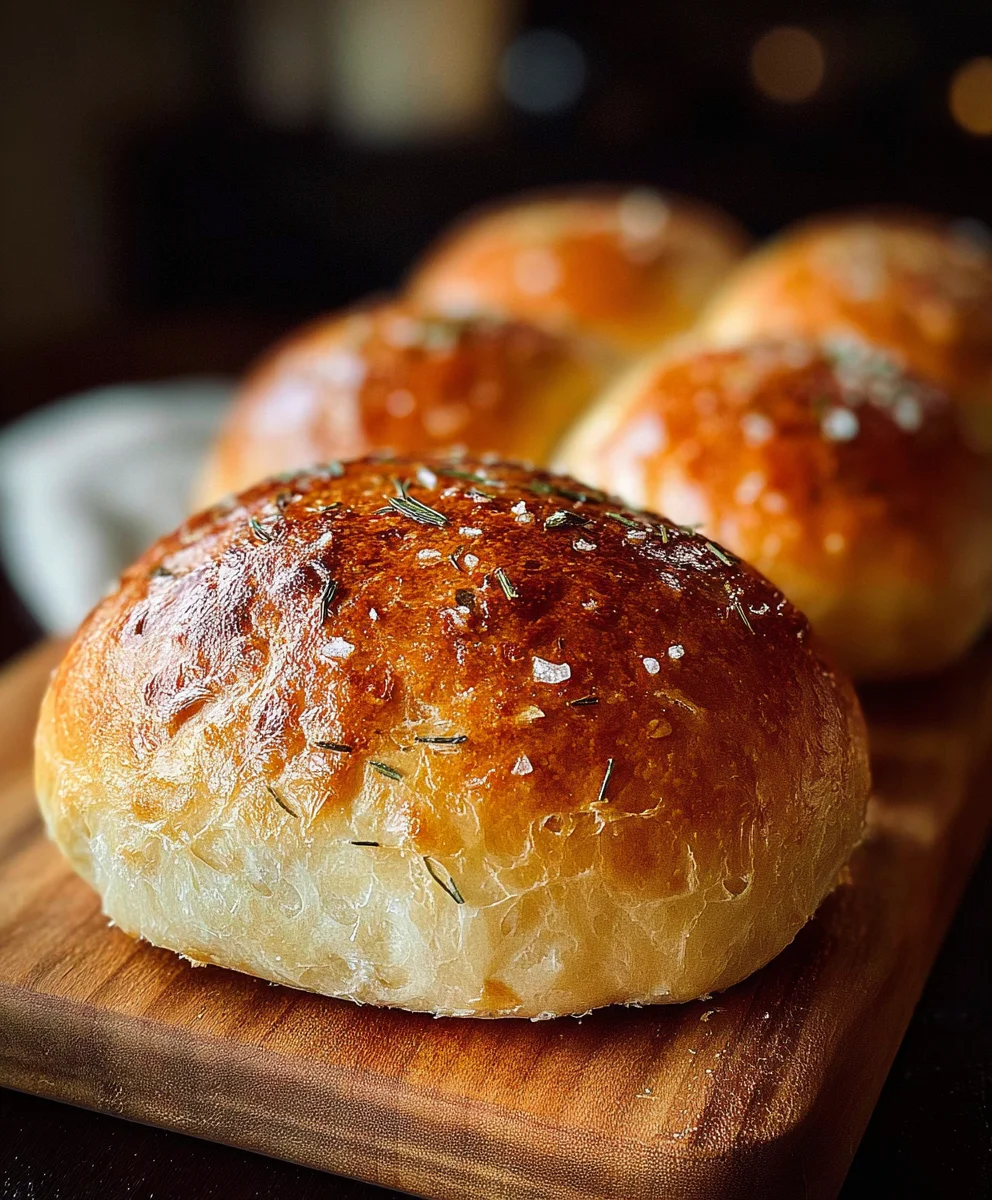
Bake for 15-20 minutes. The rolls should be beautifully golden brown and sound hollow when tapped on the bottom. The steam created in the first few minutes of baking helps the crust develop and prevents it from setting too quickly, allowing the rolls to expand fully. Once baked, remove them from the oven and transfer them to a wire rack to cool. This allows air to circulate, preventing the bottoms from becoming soggy. Enjoy the incredible aroma filling your kitchen!
Conclusion:
I hope you’ve enjoyed learning how to make these incredibly satisfying No Knead Crusty Rolls! This recipe truly lives up to its name, delivering a wonderfully crisp exterior and a soft, airy interior with minimal effort. The simplicity of the ingredients and the forgiving nature of the dough make it an accessible project for bakers of all levels. Imagin extracte the aroma filling your kitchen as these golden-brown rolls bake to perfection.
These versatile No Knead Crusty Rolls are fantastic served warm alongside almost any meal. They are perfect for dipping into soups and stews, slathered with butter, or used to build the ultimate sandwich. For a delightful variation, try adding a sprinkle of sesame seeds, poppy seeds, or even a pinch of dried herbs to the dough before baking. You can also experiment with different flours, like adding a small percentage of whole wheat for a nuttier flavor. Don’t be afraid to play around and discover your favorite way to enjoy them! Give this recipe a try; you’ll be amazed at how easy it is to produce bakery-quality rolls in your own home.
Frequently Asked Questions:
Can I make the dough ahead of time?
Absolutely! The beauty of this recipe is its flexibility. You can let the dough rise in the refrigerator for up to 24-48 hours after the initial bulk fermentation. This slow fermentation actually develops more flavor. Just bring it to room temperature for about 30-60 minutes before shaping and baking.
My rolls didn’t get as crusty as I hoped. What could I have done differently?
Achieving a truly crusty exterior often comes down to steam during the baking process. Ensure your oven is fully preheated. One effective method is to place a shallow pan filled with water on the bottom rack of your oven while it preheats. Once you place the rolls in, you can remove the water pan after about 15-20 minutes. Also, baking directly on a preheated baking stone or Dutch oven can significantly enhance the crust.
Easy No Knead Crusty Rolls-Best Bread Recipe
Simple and delicious no-knead crusty rolls that are perfect for any meal. Minimal effort for maximum reward with a wonderfully airy crumb.
Ingredients
-
3 cups all-purpose flour, plus more for dusting
-
1 ½ teaspoons instant yeast
-
1 teaspoon salt
-
1 ½ cups lukewarm water (about 105-115°F / 40-46°C)
-
1 tablespoon olive oil, plus more for greasing
Instructions
-
Step 1
In a large mixing bowl, combine the all-purpose flour, instant yeast, and salt. Whisk to distribute evenly. -
Step 2
Pour in the lukewarm water and olive oil. Mix with a wooden spoon or spatula until just combined and a shaggy, sticky dough forms. Do not overmix. -
Step 3
Lightly grease the bowl with olive oil, transfer the dough to the oiled bowl, cover tightly with plastic wrap or a damp towel, and let rise in a warm place for at least 1 hour, or until doubled in size. -
Step 4
Lightly flour a work surface. Gently scrape the dough onto the surface and divide into 8 equal portions. Gently fold the edges of each portion into the center to form rough balls. Place on a parchment-lined baking sheet, leaving space between them. -
Step 5
Cover the shaped rolls loosely and let rise for another 30-45 minutes until puffy. Preheat oven to 450°F (230°C) with a heatproof pan on the bottom rack for steam. -
Step 6
Carefully add about 1 cup of hot water to the preheated pan to create steam. Immediately place the baking sheet with the rolls into the oven. Bake for 15-20 minutes, until golden brown and hollow-sounding when tapped. Cool on a wire rack.
Important Information
Nutrition Facts (Per Serving)
It is important to consider this information as approximate and not to use it as definitive health advice.
Allergy Information
Please check ingredients for potential allergens and consult a health professional if in doubt.