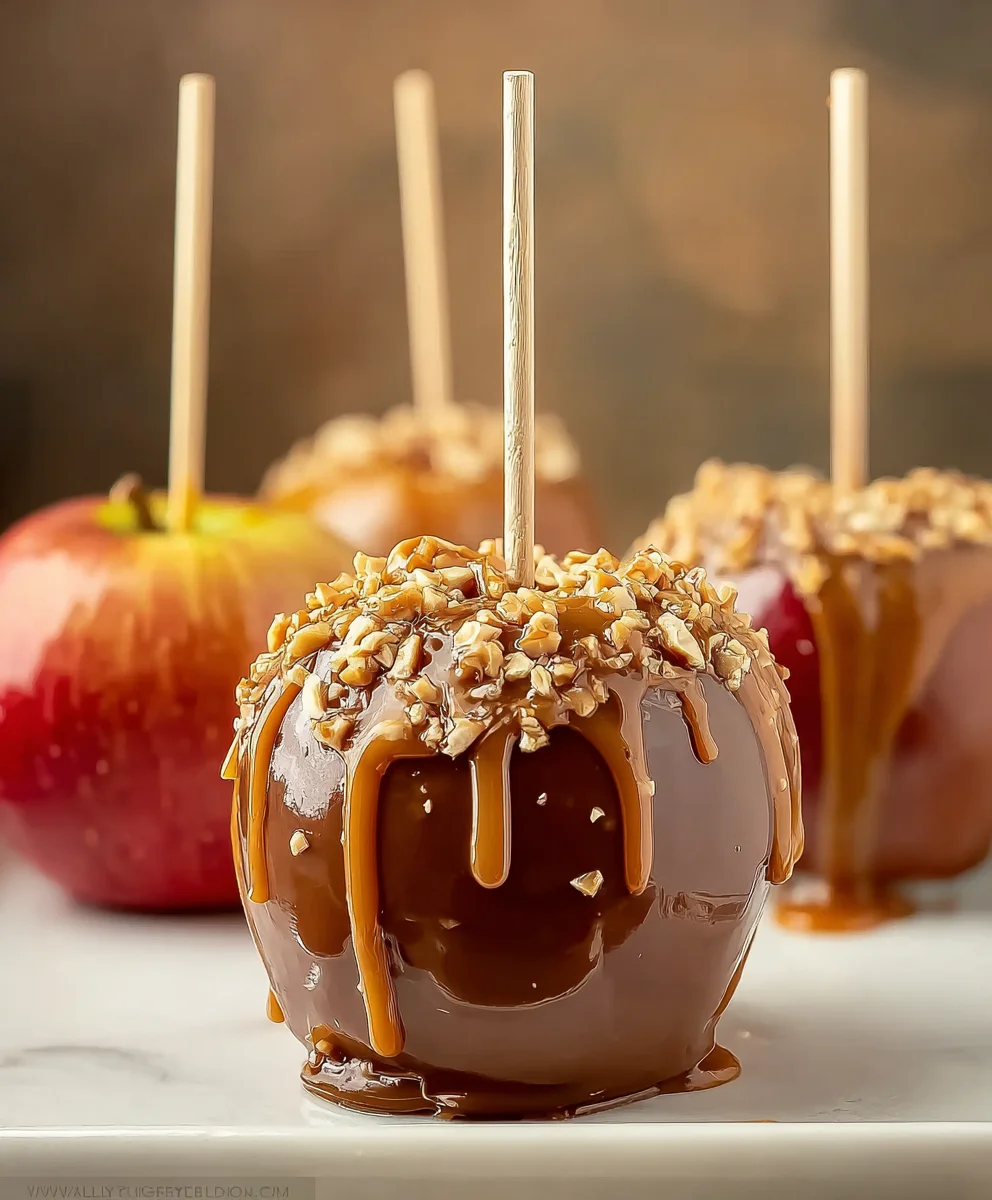
Easy Homemade Caramel Apples Recipe
Caramel Apples are more than just a sweet treat; they are a nostalgic hug from autumn and a pure burst of childhood delight. There’s something undeniably magical about that crisp snap of the apple followed by the chewy, sweet embrace of warm caramel. Whether you remember making them at home, picking them out at a fall festival, or simply enjoying their comforting sweetness, caramel apples hold a special place in our hearts and on our dessert tables. What makes them truly stand out is the perfect marriage of tart, juicy apple and rich, buttery caramel. This recipe takes that classic experience and elevates it, ensuring a perfectly smooth caramel that clings beautifully without being too hard or sticky, giving you the ultimate, satisfying bite every single time. Get ready to fall in love with caramel apples all over again!”
Ingredients:
- 8-10 medium apples, washed thoroughly and completely dried. Ensuring the apples are bone dry is crucial for the caramel to adhere properly. Any residual moisture will cause the caramel to slide off. Choose varieties known for their crispness and slight tartness, such as Honeycrisp, Fuji, or Granny Smith, as these hold their shape well and offer a delightful contrast to the sweet caramel.
- 22 ounces (approximately 2 bags) of individually wrapped caramel candies. These are the heart of our caramel apples, providing that classic chewy, sweet coating. It’s important to have enough to generously coat all your apples.
- 4 tablespoons of milk, half-and-half, or heavy cream. The addition of liquid helps to create a smoother, more pliable caramel sauce. Heavy cream will result in the richest, creamiest caramel, while milk offers a lighter option. Half-and-half is a good middle ground.
- Assorted toppings. This is where you can get creative! Think about what makes a caramel apple truly special. Options include:
- Melted chocolates (milk, dark, or white chocolate chips or chopped bars)
- Sprinkles (rainbow sprinkles, chocolate sprinkles, edible glitter)
- Chopped nuts (peanuts, pecans, walnuts, almonds)
- Crushed cookies (Oreo, grabeef ham crackers)
- Shredded coconut
- Sea salt flakes for a touch of sophisticated sweetness
Preparing Your Apples
Step 1: Apple Preparation
Before we even think about caramel, it’s essential to get our apples ready. Start by washing each apple very thoroughly under cool running water. After washing, use a clean kitchen towel or paper towels to dry each apple completely. I cannot stress this enough: the surface of the apple must be absolutely dry. If there’s any water or even just a hint of moisture, the melted caramel will struggle to stick, leading to a less-than-perfect coating. For the best caramel apple experience, I recommend using firm, crisp apples. Varieties like Honeycrisp, Fuji, or Granny Smith are excellent choices because they hold their shape well and offer a nice balance of sweetness and tartness that complements the rich caramel. Once dry, insert a sturdy popsicle stick or a candy apple stick into the stem end of each apple, pushing it about halfway into the apple’s flesh. This will serve as your handle for dipping and later for eating. Ensure the stick is firmly embedded so it doesn’t loosen when you’re dipping the apples in hot caramel.
Making the Caramel Coating
Step 2: Melting the Caramels
Now it’s time to create that luscious caramel coating. Unwrap all your caramel candies. This can be a bit tedious, but it’s a necessary step. Place the unwrapped caramels into a medium, heavy-bottomed saucepan. Add the 4 tablespoons of milk, half-and-half, or heavy cream to the saucepan. The liquid will help to loosen the caramels and create a smoother sauce. Place the saucepan over low to medium-low heat. It’s important to use low heat to prevent the caramels from scorching. Stir the mixture constantly with a heatproof spatula or wooden spoon. As the caramels begin extract to melt, they will combine with the liquid, forming a thick, gooey mass. Continue stirring and melting until the caramel is completely smooth and there are no lumps remaining. This process might take about 8-10 minutes. Be patient and keep the heat gentle. If the caramel starts to look too thick or is heating too quickly, you can briefly remove it from the heat while continuing to stir.
Step 3: Achieving the Right Caramel Consistency
Once the caramels are fully melted and smooth, you need to ensure they are at the perfect consistency for dipping. The caramel should be warm and fluid enough to coat the apples easily, but not so hot that it becomes thin and watery. A good test is to dip a spoon into the caramel and lift it. The caramel should coat the back of the spoon in a smooth, unbroken layer, and when you run your finger through it, the caramel should slowly close back up. If the caramel seems too thick, you can stir in another teaspoon of milk or cream at a time, reheating gently until it reaches the desired consistency. Conversely, if it seems too thin, continue to cook it over very low heat, stirring constantly, for a minute or two until it thickens slightly. Be cautious not to overheat or overcook, as this can lead to a hard, brittle caramel.
Assembling Your Caramel Apples
Step 4: Dipping the Apples
With your caramel at the ideal consistency and your apples prepared, it’s time for the fun part! Hold an apple by its stick and carefully tilt the saucepan. Dip the apple into the warm caramel, rotating it gently to coat the entire surface. You want a generous, even coating. As you lift the apple out of the caramel, let any excess drip back into the saucepan. You can gently swirl the apple or use your spatula to help guide the caramel and ensure complete coverage, but work relatively quickly as the caramel will start to cool and thicken. It’s also helpful to have a parchment-lined baking sheet or a silicone baking mat ready. Once coated, carefully place the caramel apple onto the prepared surface to set. Repeat this process for each apple. If the caramel starts to thicken too much between apples, gently warm it over low heat again, adding a tiny bit more liquid if needed.
Step 5: Adding Your Toppings
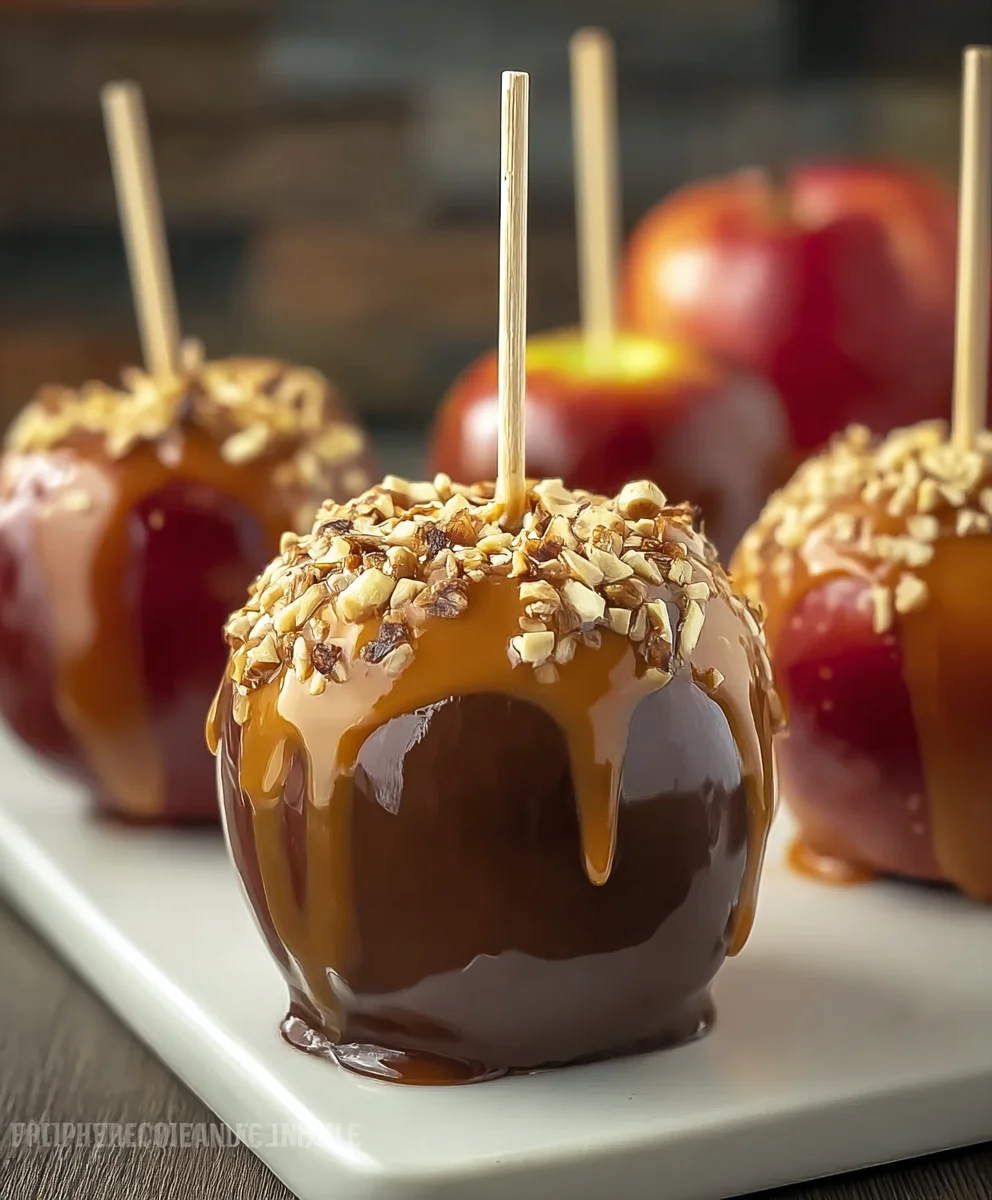
This is where your caramel apples transform into edible works of art! While the caramel coating is still wet and sticky, it’s time to add your chosen toppings. You can roll the caramel-coated apples in shallow dishes filled with your toppings, or simply sprinkle them on top. For a classic look, roll the bottom half of the apple in chopped peanuts or sprinkles. For a more decadent treat, drizzle melted chocolate over the caramel or press chocolate chips into the still-warm surface. If you’re using nuts or crushed cookies, press them firmly into the caramel so they adhere well. If you plan on adding multiple types of toppings, you might want to do this while the caramel is still slightly warm but not overly fluid, so each layer of topping sticks. Don’t be afraid to mix and match flavors and textures. For a salty-sweet combination, a sprinkle of flaky sea salt just before the caramel fully sets is divine. Once decorated, let the caramel apples sit undisturbed on the parchment paper or silicone mat until the caramel has completely hardened. This will take at least 30 minutes, but they can also be refrigerated to speed up the process.
Conclusion:
There you have it – a foolproof guide to making delicious Caramel Apples right in your own kitchen! We’ve walked through each step, from selecting the perfect apples to achieving that glorious, gooey caramel coating. These Caramel Apples are a fantastic treat for any occasion, bringin extractg a touch of nostalgic fun and decadent flavor to gatherings, holidays, or just a cozy afternoon. Remember, the key is to be patient with the caramel and enjoy the process!
For serving, these classic Caramel Apples are wonderful on their own. However, don’t be afraid to get creative! Consider rolling them in chopped nuts like pecans or walnuts, mini chocolate chips, or even sprinkles for an extra pop of color and texture. They also make a beautiful and thoughtful homemade gift.
Don’t limit yourself to just the classic! Feel free to experiment with variations. You could drizzle melted chocolate over the finished caramel apples for a chocolate-caramel combination, or even add a dusting of sea salt before the caramel sets for a sweet and salty contrast. The possibilities are endless!
Frequently Asked Questions about Caramel Apples:
Q: My caramel is too thin. What did I do wrong?
A: If your caramel is too thin, it likely didn’t cook to a high enough temperature. The candy thermometer should reach the firm ball stage (around 245-250°F or 118-121°C). If it’s too thin, you can try gently re-heating it, but be careful not to scorch it. Sometimes adding a little more sugar and cooking it longer can help, but it’s often best to start over for the smoothest results.
Q: How can I ensure the caramel sticks to the apples?
A: Make sure your apples are thoroughly washed and dried. Any wax residue or moisture will prevent the caramel from adhering properly. Also, chilling the apples for about 15-20 minutes before dipping can help the caramel set more quickly and firmly.
Easy Homemade Caramel Apples
A simple recipe for classic homemade caramel apples with customizable toppings.
Ingredients
-
8-10 medium apples, washed thoroughly and completely dried
-
22 ounces individually wrapped caramel candies
-
4 tablespoons milk
-
Assorted toppings (e.g., melted chocolates, sprinkles, chopped nuts, crushed cookies, shredded coconut, sea salt flakes)
Instructions
-
Step 1
Wash and thoroughly dry each apple. Insert a sturdy stick into the stem end of each apple, pushing it about halfway into the flesh. -
Step 2
Unwrap all caramel candies and place them in a medium, heavy-bottomed saucepan with the milk. Heat over low to medium-low heat, stirring constantly, until completely smooth and no lumps remain (about 8-10 minutes). -
Step 3
Check caramel consistency: it should coat the back of a spoon smoothly. If too thick, add another teaspoon of milk/cream and reheat gently. If too thin, cook over very low heat, stirring, until slightly thickened. -
Step 4
Hold an apple by its stick and dip it into the warm caramel, rotating to coat the entire surface. Let excess caramel drip back into the saucepan. Place coated apples on a parchment-lined baking sheet or silicone mat. -
Step 5
While the caramel is still wet, immediately add your chosen toppings by rolling the apples in them or sprinkling them on. Press toppings firmly into the caramel. -
Step 6
Let the caramel apples sit undisturbed until the caramel has completely hardened, at least 30 minutes, or refrigerate to speed up the process.
Important Information
Nutrition Facts (Per Serving)
It is important to consider this information as approximate and not to use it as definitive health advice.
Allergy Information
Please check ingredients for potential allergens and consult a health professional if in doubt.