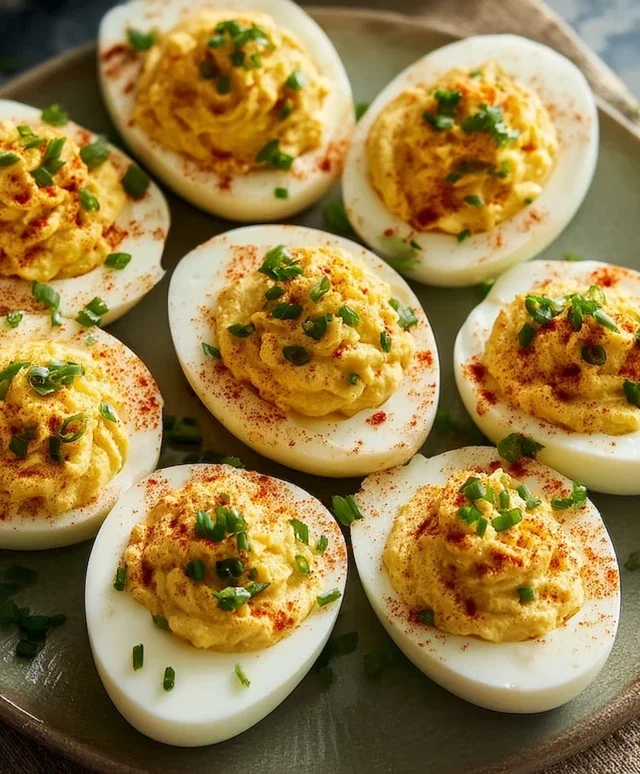
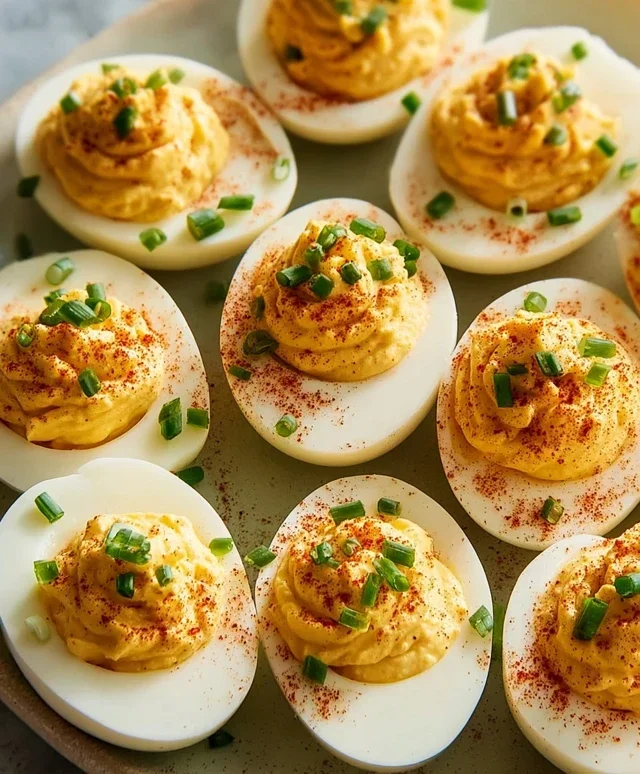
Classic Deviled Eggs – The Perfect Appetizer
Deviled eggs are, in my humble opinion, one of the most universally adored appetizers. What is it about these humble little egg halves that sparks such joy and nostalgia? Perhaps it’s the perfect harmony of creamy yolk filling against the tender white, a satisfying bite that’s both familiar and exciting. They’re the quintessential party pleaser, gracing picnics, holiday tables, and potlucks with their charming presence. What truly makes deviled eggs special is their incredible versatility. They’re a blank canvas for creativity, allowing for endless flavor variations that can transform them from classic to gourmet. From a hint of smoky paprika to a zesty kick of Dijon mustard, or even something as unexpected as a touch of sriracha, the possibilities are truly endless. This recipe offers a delightful twist on the classic, infusing it with a flavor profile that I guarantee will have your guests beggin extractg for the recipe.
The Enduring Allure of Deviled Eggs
A Timeless Classic, Reimagin extracted
Deviled Eggs: A Classic Crowd-Pleaser
Deviled eggs. The very name conjures up images of potlucks, holidays, and the joy of a perfectly formed, creamy bite. There’s something undeniably comforting and celebratory about them. Whether you’re a seasoned deviled egg aficionado or looking to master this simple yet sensational appetizer for the first time, you’ve come to the right place. My recipe is a timeless classic, a beloved rendition that balances tangy, sweet, and savory notes with a velvety smooth filling. It’s the kind of recipe that’s passed down through generations, and once you try it, you’ll understand why.
The beauty of deviled eggs lies in their versatility and ease. They require minimal effort but deliver maximum flavor and visual appeal. They’re perfect for picnics because they’re self-contained and travel well. They’re elegant enough for a formal gathering yet casual enough for a backyard barbecue. And honestly, who can resist a perfectly piped deviled egg adorned with a sprinkle of paprika? Let’s dive in and create some magic in your kitchen.
Ingredients:
Cooking Instructions:
Here’s how we’ll transform those simple ingredients into a batch of irresistible deviled eggs. The key to great deviled eggs starts with perfectly cooked eggs.
Phase 1: Perfecting the Hard-Boiled Eggs
Phase 2: Creating the Creamy Filling
Phase 3: Assembling and Garnishing
These deviled eggs are best served chilled or at room temperature. They are a fantastic appetizer for any occasion and are sure to be a hit with your guests. Enjoy the process, and more importantly, enjoy the delicious results!
Conclusion:
And there you have it – the ultimate guide to creating the most delicious deviled eggs! This recipe is truly fantastic because it’s simple, endlessly adaptable, and always a crowd-pleaser. The creamy, tangy filling perfectly complements the firm egg white, creating a bite-sized burst of flavor that’s ideal for any occasion. Whether you’re hosting a potluck, preparing for a holiday gathering, or simply craving a delightful snack, these deviled eggs are sure to impress. Don’t be afraid to experiment with the suggested variations; adding a pinch of smoked paprika, a dash of hot sauce, or some finely chopped chives can elevate your deviled eggs to a whole new level.
So, go ahead and give this recipe a try! I’m confident you’ll discover your own favorite way to make these classic appetizers. They’re perfect as a starter for a brunch, a side dish for a barbecue, or even just a delightful treat to enjoy with friends and family.
Frequently Asked Questions about Deviled Eggs:
Q: How long can I store deviled eggs?
A: Properly stored deviled eggs will last in an airtight container in the refrigerator for about 2-3 days. It’s best to keep the filling separate from the egg white halves until you’re ready to serve to prevent them from becoming soggy.
Q: My deviled egg filling is too thick. What can I do?
A: If your filling is too thick, you can easily thin it out by adding a little more mayonnaise, a teaspoon of milk, or even a splash of pickle juice, mixing until you reach your desired consistency. A little goes a long way, so add gradually!
Q: Can I make the deviled egg filling ahead of time?
A: Absolutely! You can prepare the deviled egg filling up to a day in advance and store it in an airtight container in the refrigerator. This makes assembly on the day of serving much quicker and easier. Just remember to gently fold it into the egg white halves when you’re ready to serve.
Deviled Eggs
Classic deviled eggs with a creamy and tangy filling, perfect for any occasion.
Ingredients
-
6 Large eggs
-
1/4 tsp kosher salt
-
2 1/2 tbsp Miracle Whip
-
1 tsp Apple cider vinegar
-
1 tsp Yellow mustard
-
1/4 tsp Granulated sugar
-
2 tbsp Sweet Relish
-
A dash of black pepper
Instructions
-
Step 1
Place eggs in a saucepan and cover with cold water by 1 inch. Bring to a boil over high heat. -
Step 2
Once boiling, remove from heat, cover, and let stand for 10-12 minutes. -
Step 3
Drain eggs and immediately rinse with cold water to stop the cooking process. Peel the eggs. -
Step 4
Slice each peeled egg in half lengthwise. Scoop the yolks into a medium bowl. -
Step 5
Mash the yolks with a fork until smooth. Add Miracle Whip, apple cider vinegar, yellow mustard, kosher salt, granulated sugar, sweet relish, and black pepper. Stir until well combined and creamy. -
Step 6
Spoon the yolk mixture back into the egg white halves. Garnish with paprika and chives if desired.
Important Information
Nutrition Facts (Per Serving)
It is important to consider this information as approximate and not to use it as definitive health advice.
Allergy Information
Please check ingredients for potential allergens and consult a health professional if in doubt.