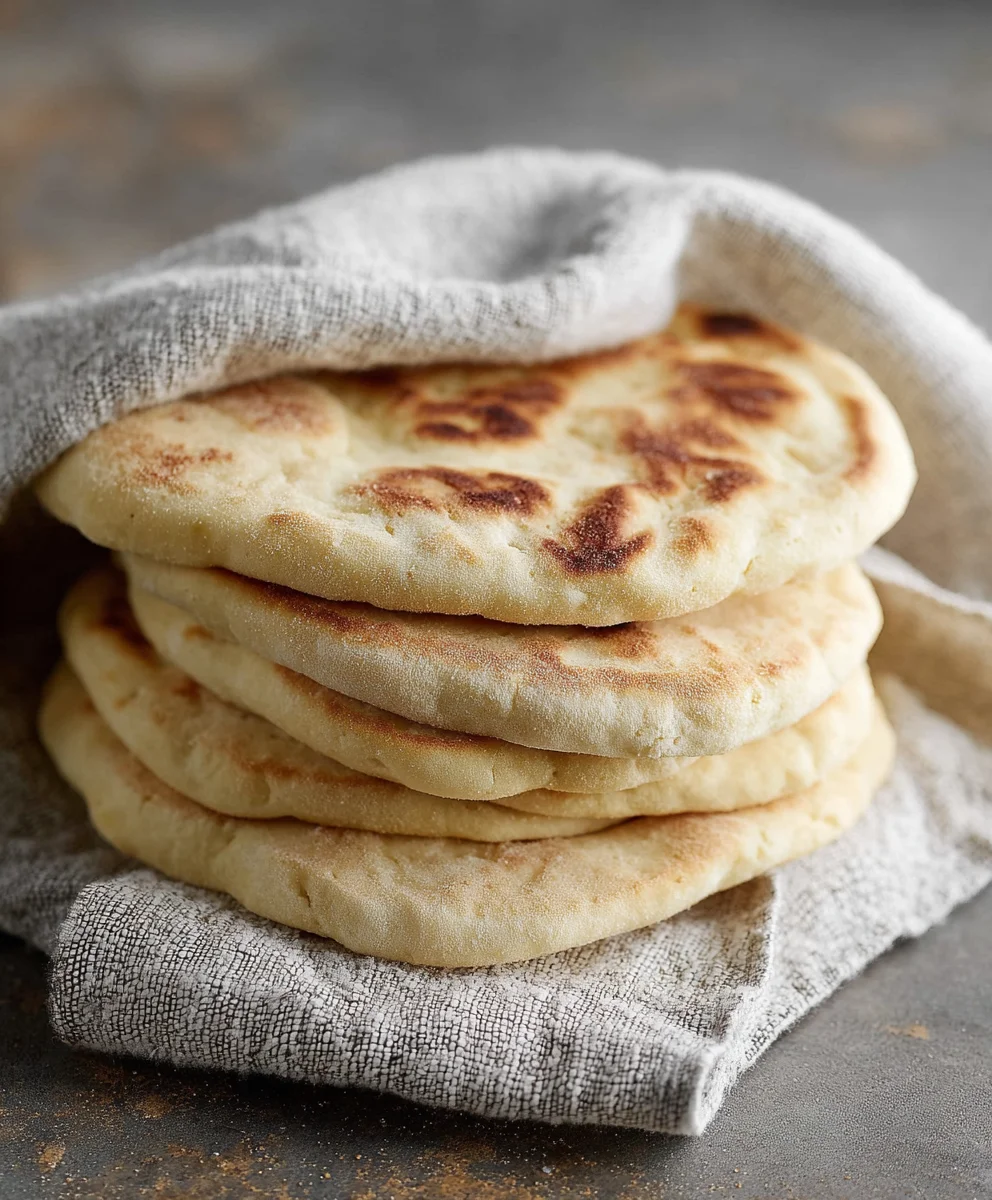
Easy Homemade Pita Bread-Soft & Fluffy Recipe
Easy Homemade Pita Bread Recipe will revolutionize your kitchen and your lunch game. Forget those sad, store-bought pockets that never quite inflate; this recipe unlocks the magic of truly pillowy, wonderfully chewy pita bread that puffs up like a dream right in your oven. There’s something inherently satisfying about creating this versatile staple from scratch. People adore homemade pita for its incredible freshness, its subtly yeasty aroma, and the sheer joy of tearing into a warm, soft disc that’s perfect for scooping up dips, cradling falafel, or simply slathering with butter. What makes this particular Easy Homemade Pita Bread Recipe so special is its simplicity and foolproof nature. Even if you’ve never baked with yeast before, you’ll find yourself creating beautiful, golden-brown pita bread with minimal fuss, transforming ordinary meals into extraordinary culinary experiences.
Ingredients:
- 1 cup (8 oz.) lukewarm warm water (about 105–110°F)
- 1 tablespoon sugar
- 2 1/4 teaspoons (1 package) active dry yeast
- Approximately 3 cups all-purpose flour, plus more for dusting
- 1 tablespoon extra virgin extract olive oil
- 1 3/4 teaspoons salt
Getting Started: Activating the Yeast
Step 1: Blooming the Yeast
The first and arguably most crucial step in creating light and fluffy pita bread is to properly activate your yeast. In a large mixing bowl, combine the 1 cup of lukewarm warm water. It’s important that the water isn’t too hot, as excessive heat will kill the yeast, nor too cold, which will prevent it from activating. The ideal temperature is between 105–110°F, similar to a warm bath. To this warm water, add the 1 tablespoon of sugar. The sugar acts as food for the yeast, giving it the energy it needs to start its magic. Finally, sprinkle the 2 1/4 teaspoons of active dry yeast over the surface of the water and sugar mixture. Do not stir it in just yet. Let it sit undisturbed for about 5 to 10 minutes. You should observe a foamy, bubbly layer forming on the surface of the water. This visual cue indicates that your yeast is alive and ready to go. If you don’t see any foam, your yeast may be inactive, and you’ll need to start this step over with fresh yeast.
Developing the Dough
Step 2: Combining Wet and Dry Ingredients
Once your yeast has bloomed and looks delightfully frothy, it’s time to incorporate the rest of the wet ingredients. Add the 1 tablespoon of egin extracta virgin olive oil to the yeast mixture. The olive oil will add a subtle richness and contribute to the soft texture of the finished pita. Next, add the 1 3/4 teaspoons of salt directly into the bowl. Salt is essential not only for flavor but also to control the yeast’s activity and strengthen the gluten structure of thgin extractough. Now, begin adding your flour. Start by adding about 2 cups of the all-purpose flour to the wet ingredients. Using a sturdy spgin extract or a dough whisk, begin to mix everything together. The goal at this stage is to incorporate the flour and form a shaggy dough. It will still be quite wet and sticky.
Step 3: Kneading for Gluten Development
As the dough comes together, you’ll gradually add more flour until the dough becomes manageable but still slightly sticky to the touch. This is where the “approximately 3 cups” comes into play – you might need a little more or a little less depending on your flour and humidity. Once you’ve reached a point where the dough is no longer excessively sticky, turn it out ongin extracta lightly floured surface. Begin kneading the dough. This process develops the gluten, which is the protein network that gives bread its structure and chegrape juicess. Push the dough away from you with the heel of your hand, then fold it back towards you. Rotate the dough and repeat the process. Continue kneading for about 8 to 10 minutes, or until the dough is smooth, elastic, and springs back slowly when you gently poke it. A well-kneaded dough is essential for achieving that characteristic puff in your pita.
The Rise and Shaping
Step 4: First Rise and Proofing
Lightly grease a clean bowl with a little extra olive oil. Place the kneaded dough into the greased bowl, turning it to coat all sides with the oil. This prevents the dough from drying out. Cover the bowl tightly with plastic wrap or a damp kitchen towel. Place the bowl in a warm, draft-free spot to rise. This process, known as proofing, allows the yeast to produce carbon dioxide, which makes the dough expand. You’re looking for the dough to at least double in size, which typically takes about 1 to 1.5 hours. The exact time will depend on the temperature of your room. A good test to see if it’s ready is to gently poke the dough with a floured finger; if the indentation remains, it’s ready.
Step 5: Dividing and Resting the Dough
Once the dough has doubled in size, gently punch it down to release the trapped air. Turn the dough out onto your lightly floured surface again. Divide the dough into 6 to 8 equal portions, depending on how large you want your pitas. Roll each portion into a smooth ball. Cover these dough balls loosely with a clean kitchen towel and let them rest for another 10 to 15 minutes. This short resting period allows the gluten to relax, making the dgin extracth easier to roll out without it springing back. While the dough balls are resting, preheat your oven to its highest setting, ideally 475–500°F, with a baking stone or a heavy baking sheet inside. A very hot oven is key to getting that dramatic puff.
Baking the Pita
Step 6: Rolling and Baking for the Puff
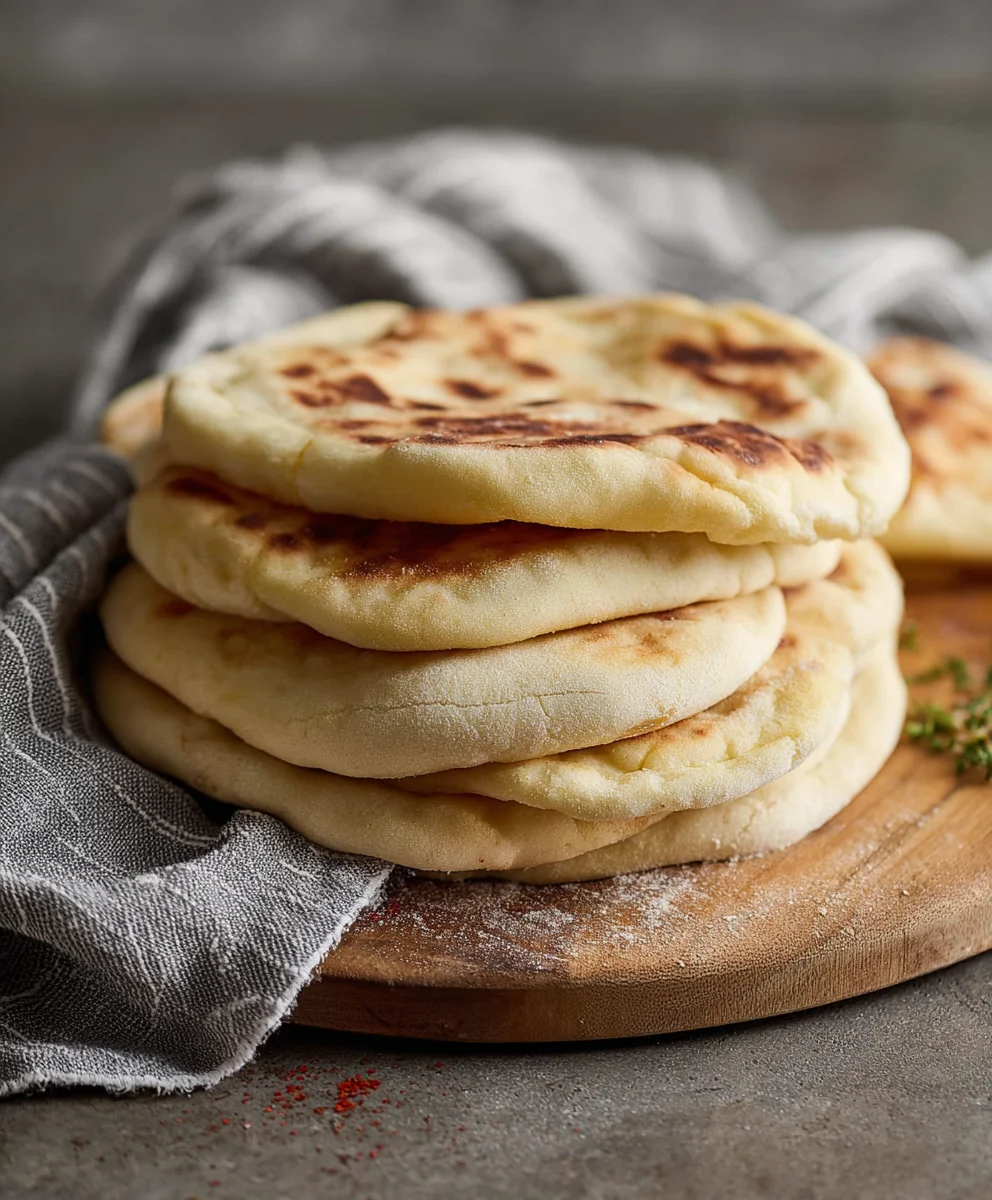
Now it’s time to shape and bake your pita. Take one dough ball at a time and, on a lightly floured surface, roll it out into a thin circle, about 6 to 8 inches in diameter and approximately 1/8 inch thick. Avoid making them too thick, or they won’t puff as well. Dust off any excess flour from the rolled-out dough. Carefully transfer the rolled-out dough onto the preheated baking stone or baking sheet in your oven. You might need to work in batches. Bake forgin extractto 4 minutes per side. You’ll see the pita begin to puff up like a balloon within the first minute of baking. It will develop some lovely golden-brown spots. Flip the pita and bake for another 1 to 2 minutes until it’s lightly golden on both sides and fully puffed. Once baked, immediately remove them from the oven and place them on a wire rack. You can loosely cover them with a clean kitchen towel to keep them soft as they cool.
Conclusion:
You’ve done it! With this Easy Homemade Pita Bread Recipe, you’ve unlocked the secret to fresh, fluffy pita bread right in your own kitchen. This recipe proves that delicious, authentic pita is well within reach, even for novice bakers. The satisfaction of pulling these warm, pillowy discs from the oven is truly unparalleled. Don’t be afraid to get your hands a little messy with the dough; it’s all part of the fun!
These delightful pitas are incredibly versatile. Serve them warm as an accompaniment to your favorite Mediterranean dishes, falafel, or hummus. They’re also perfect for crafting your own delicious gyros, shawarma wraps, or even as a base for mini pizzas. For a simple yet delightful treat, try toasting them lightly and spreading with a touch of butter or olive oil.
Feeling adventurous? Experiment with adding herbs like rosemary or thyme directly into the dough, or sprinkle sesame seeds on top before baking for an extra layer of flavor and texture. The possibilities are endless! So, bake on, experiment freely, and enjoy the incredible taste of your Easy Homemade Pita Bread Recipe. I encourage you to make this recipe again and again!
Frequently Asked Questions:
Why didn’t my pita bread puff up?
Several factors can prevent puffing. Ensure your oven is hot enough and preheated thoroughly. Make sure you’re using a very hot baking surface, like a pizza stone or cast iron skillet. Also, avoid overcrowding the oven, as this can lower the temperature and hinder puffing. Finally, ensure your dough has risen sufficiently and isn’t overworked.
Can I make this pita bread ahead of time?
Yes! Once cooled, you can store your Easy Homemade Pita Bread Recipe in an airtight container at room temperature for 2-3 days. For longer storage, wrap them tightly and freeze for up to 2 months. Reheat gently in a toaster, oven, or skillet to enjoy them warm and soft.
Easy Homemade Pita Bread-Soft & Fluffy Recipe
Learn how to make soft and fluffy homemade pita bread with this easy-to-follow recipe. Perfect for dips, sandwiches, and more!
Ingredients
-
1 cup (8 oz.) lukewarm warm water (about 105–110°F)
-
1 tablespoon sugar
-
2 1/4 teaspoons (1 package) active dry yeast
-
Approximately 3 cups all-purpose flour, plus more for dusting
-
1 tablespoon extra virgin olive oil
-
1 3/4 teaspoons salt
Instructions
-
Step 1
Activate the yeast: In a large mixing bowl, combine 1 cup of lukewarm water (105–110°F) and 1 tablespoon of sugar. Sprinkle 2 1/4 teaspoons of active dry yeast over the top. Let it sit undisturbed for 5 to 10 minutes until foamy. -
Step 2
Combine wet and dry ingredients: Add 1 tablespoon of extra virgin olive oil and 1 3/4 teaspoons of salt to the bloomed yeast mixture. Gradually add about 2 cups of all-purpose flour and mix with a spoon or dough whisk until a shaggy dough forms. -
Step 3
Knead the dough: Gradually add more flour (up to about 3 cups total) until the dough is manageable but still slightly sticky. Turn the dough onto a lightly floured surface and knead for 8–10 minutes until smooth and elastic. -
Step 4
First rise: Lightly grease a clean bowl with olive oil. Place the kneaded dough in the bowl, turning to coat. Cover tightly and let rise in a warm, draft-free spot for 1 to 1.5 hours, or until doubled in size. -
Step 5
Divide and rest: Gently punch down the risen dough and turn it onto a floured surface. Divide into 6–8 equal portions, roll into balls, cover loosely with a towel, and let rest for 10–15 minutes. Preheat your oven to its highest setting (475–500°F) with a baking stone or sheet inside. -
Step 6
Roll and bake: Roll each dough ball into a thin circle (about 1/8 inch thick). Carefully transfer to the hot baking stone/sheet. Bake for 2–4 minutes per side, until puffed and lightly golden brown. Remove and cover with a towel to keep soft.
Important Information
Nutrition Facts (Per Serving)
It is important to consider this information as approximate and not to use it as definitive health advice.
Allergy Information
Please check ingredients for potential allergens and consult a health professional if in doubt.