4th of July Party-Wow Guests with Easy Appetizer Ideas
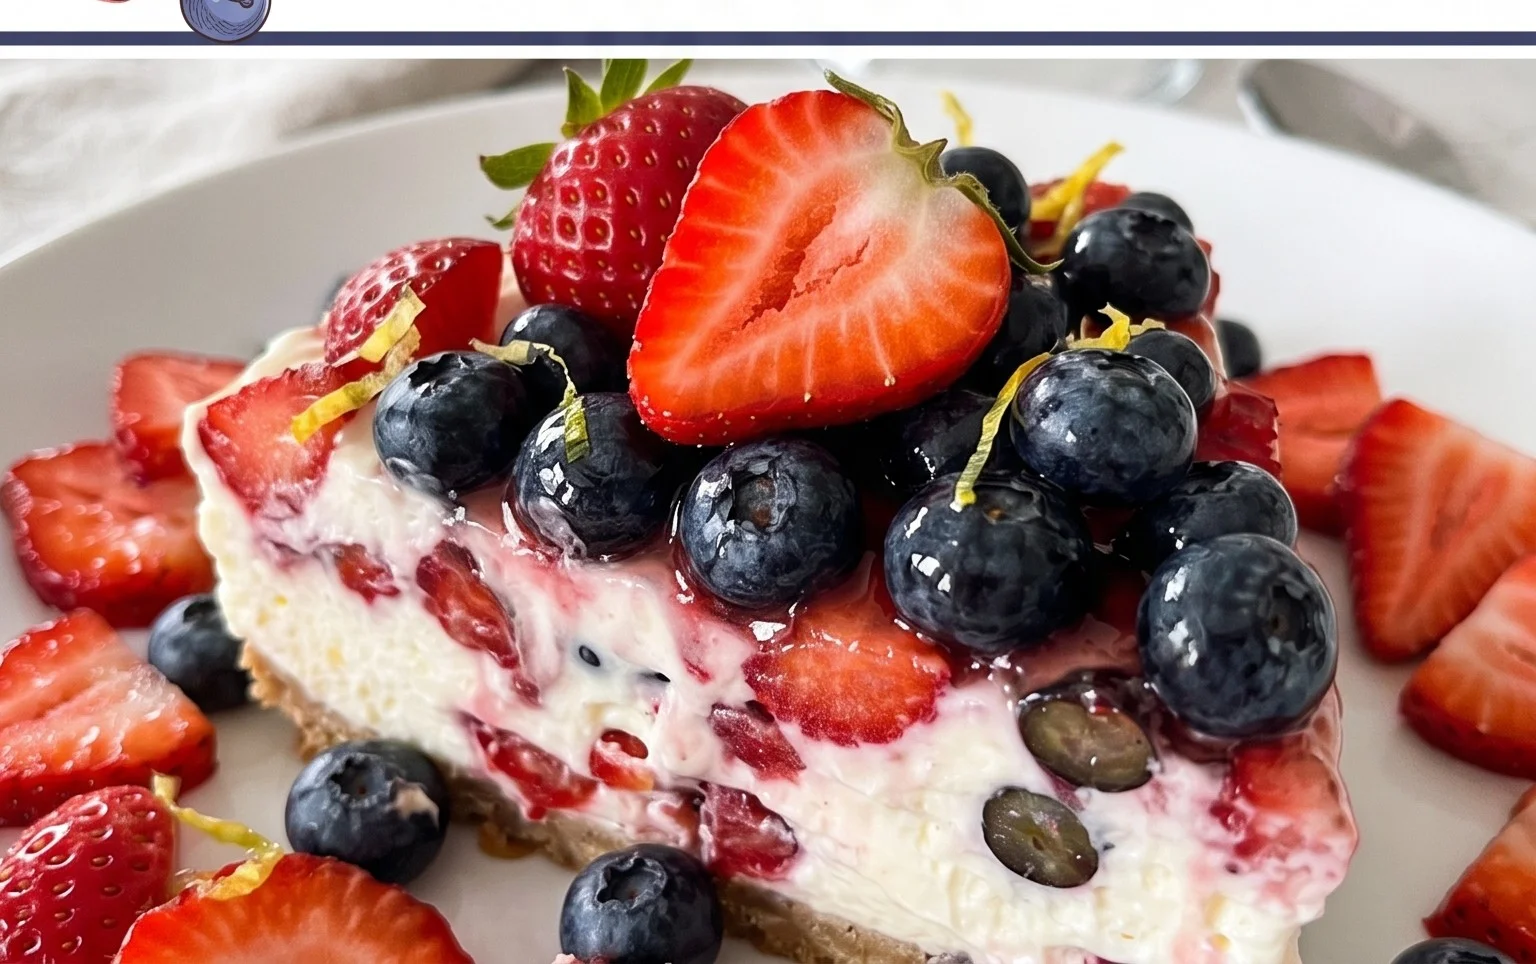
Wow your 4th of July party guests, one pin at a time, with a dessert so delightful it will have everyone reaching for seconds before the fireworks even begin extract! This year, let’s elevate our patriotic celebrations beyond the usual suspects. We’re talking about a creation that’s not only bursting with classic Fourth of July flavors but also presents like a miniature masterpiece. Imagin extracte layers of vibrant red, white, and blue, artfully arranged in individual servings that are as easy to grab as they are beautiful to behold. What makes this special? It’s the perfect blend of nostalgic sweetness, a refreshing tang, and a surprising textural element that keeps your taste buds dancing. It’s the kind of treat that whispers “effortless elegance” and screams “happy summer,” making it the ultimate crowd-pleaser. Get ready to wow your 4th of July party guests, one pin at a time!

Wow Your 4th Of July Party Guests, One Pin At A Time
This Fourth of July, ditch the same old store-bought snacks and surprise your guests with a delightful, patriotic treat that’s as fun to make as it is to eat. We’re talking about these vibrant, boozy Jello shots, affectionately nicknamed “Stars and Stripes Sips.” They’re perfect for cooling down on a hot summer day and add a festive splash of color to any picnic table. Forget those chalky, adult-themed desserts; these are a playful nod to childhood favorites with a sophisticated, adult twist. Get ready to be the hero of the party when you unveil these perfectly crafted, crowd-pleasing goodies.
Ingredients:
Instructions
Phase 1: The Blue Base
1. Dissolve the Jello: In a medium-sized heatproof bowl, empty the entire 3-ounce box of Berry Blue Jello mix. It’s crucial to ensure all the powder is out of the box and into the bowl. Next, carefully measure and pour in 1 cup of boiling water. This is where the magic begin extracts! Using a whisk or a sturdy spoon, stir the Jello mix and boiling water together vigorously for at least two minutes. You want to make sure every single granule of Jello powder is completely dissolved. If you see any little clumps or undissolved bits at the bottom, keep stirring until it’s a smooth, homogenous liquid. This step is critical for achieving that perfect, firm Jello texture later on. Don’t rush this part; a well-dissolved Jello base makes all the difference.
2. Chill and Infuse: Once the Jello is fully dissolved, it’s time to add the cold water. Pour in ½ cup of cold water and give it another good stir to incorporate it evenly. Now comes the exciting part: adding the flavor and the kick! Slowly pour in ½ cup of UV Blue Raspberry vodka extract extract. Stir gently until everything is well combined. You’ll notice the color becoming even more vibrant, and you’ll start to catch that delightful raspberry aroma. We’re aiming for a smooth, uniformly colored mixture at this stage.
Phase 2: Setting the Stars and Stripes
3. Prepare for Pouring: Before we get these into their molds, let’s get everything ready. You’ll need small, clear plastic cups or shot glasses. For this recipe, about 2-ounce cups are ideal. You’ll likely need around 15-20 of them, depending on how full you make each shot. Arrange these cups on a sturdy baking sheet or tray. This will make it much easier to transfer them to the refrigerator without spilling. Having them all lined up and ready to go ensures a quick and efficient pouring process. Make sure the cups are clean and dry.
4. The First Pour: Now, carefully ladle or pour the blue Jello mixture into each of your prepared cups. Fill each cup about halfway. It’s important not to overfill them at this stage, as we’ll be adding another layer later. You can use a small pitcher with a spout or a ladle to make this easier and less messy. If you happen to spill a little on the tray, don’t worry, just wipe it up before you move the tray. The goal is to get a consistent amount of the blue layer in each cup.
5. The Crucial Chill: Once all the cups are filled with the first layer, it’s time for the most important step: chilling. Carefully place the baking sheet with the Jello-filled cups into your refrigerator. Let them chill for at least 1 to 1.5 hours, or until the blue layer is mostly set but still slightly soft to the touch. You want it firm enough to support the next layer without the layers blending together, but not so firm that it’s completely solid. This semi-set state is key for creating distinct layers.
Phase 3: The White Layer and Finishing Touches
6. The White Layer Magic: While your blue Jello is chilling, you can prepare the white layer. For this, you’ll need a separate batch of Jello, using a white Jello mix like vanilla or coconut flavor. Prepare it according to the package directions, but instead of using water, use ½ cup of boiling water and ½ cup of a creamy liqueur extract like sweetened condensed milk or even a plain dairy creamer mixed with a touch of vodka extract. This will give it a delicious, creamy texture and a subtle sweetness. Allow this white mixture to cool slightly at room temperature until it’s lukewarm, but not hot. This is important to prevent melting the blue layer.
7. Layering with Precision: Once the blue Jello has reached that semi-set stage, carefully remove the tray from the refrigerator. Gently pour the cooled white Jello mixture on top of the blue layer in each cup, filling them almost to the brim. Again, pour slowly and steadily to avoid disturbing the blue layer. If you’re using shot glasses, you might need to be a bit more precise with your pouring. The goal is to create a beautiful, distinct two-toned effect reminiscent of the American flag.
8. The Final Set: Now, return the tray of layered Jello shots back to the refrigerator. Let them chill for at least another 3-4 hours, or preferably overnight. This will ensure that both layers are completely firm and set. The longer they chill, the easier they will be to handle and the cleaner the layers will appear. Before serving, you can add a festive touch by topping each Jello shot with a small dollop of whipped cream and a tiny blueberry or a strawberry slice to represent stars and stripes.
These “Stars and Stripes Sips” are guaranteed to be a conversation starter and a huge hit with your guests. They’re easy to make ahead of time, look incredibly festive, and offer a delicious, boozy treat that’s perfect for any summer celebration. Enjoy the compliments!
Conclusion:
There you have it! These festive and flavorful 4th of July appetizers are guaranteed to be a showstopper at your next gathering. Their vibrant colors and delicious taste make them not only a treat for the eyes but also for the palate. We’ve focused on creating recipes that are easy to assemble, allowing you more time to enjoy your guests and the holiday festivities. From the quick assembly to the impressive presentation, these recipes are the perfect way to wow your 4th of July party guests. Don’t be afraid to get creative with your toppings and presentations!
Consider serving these alongside classic BBQ fare, a refreshing summer salad, or a pitcher of homemade lemonade. For variations, feel free to experiment with different cheeses, herbs, or even swap out the protein for a vegetarian option. The possibilities are endless! So, go ahead and give these a try. I’m confident they’ll become a new favorite for your holiday celebrations.
Frequently Asked Questions:
Can I make these appetizers ahead of time?
Yes, absolutely! Many of these appetizers can be prepped a day in advance. You can chop vegetables, prepare dips, and assemble skewers. For elements that need to remain crisp, like crackers or toasted baguette slices, it’s best to add them just before serving to maintain their texture.
What if I have dietary restrictions?
Most of these recipes are quite adaptable. For gluten-free options, use gluten-free crackers or bread. For dairy-free, explore plant-based cheeses and sour cream alternatives. Many of the vegetable-based skewers are naturally vegetarian and can easily be made vegan with appropriate substitutions.
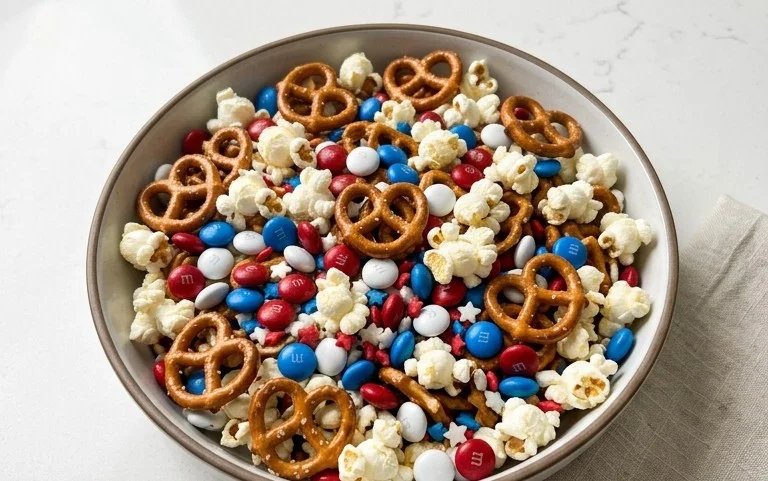
Red, White, and Blue Jello Shots
Impress your 4th of July party guests with these vibrant and festive jello shots, layered in patriotic colors.
Ingredients
-
½ cup of UV Blue Raspberry vodka extract
-
One 3-ounce box of Berry Blue Jello mix
-
1 cup of boiling water
-
½ cup of cold water
-
Red Jello mix (any flavor, e.g., cherry)
-
White Jello mix (e.g., lime or unflavored)
Instructions
-
Step 1
Prepare the blue layer: In a bowl, dissolve the Berry Blue Jello mix in 1 cup of boiling water. Stir until fully dissolved. -
Step 2
Add the cold water and UV Blue Raspberry vodka extract to the blue mixture. Stir well. -
Step 3
Pour the blue mixture into small plastic shot cups, filling them about one-third of the way. Refrigerate until set (about 30-60 minutes). -
Step 4
Prepare the red layer: In a separate bowl, dissolve the red Jello mix in 1 cup of boiling water. Stir until fully dissolved. Let cool slightly. -
Step 5
Prepare the white layer: In another separate bowl, dissolve the white Jello mix in 1 cup of boiling water. Stir until fully dissolved. Let cool slightly. -
Step 6
Once the blue layer is set, carefully pour the red mixture over it, filling the cups another third of the way. Refrigerate until set. -
Step 7
Once the red layer is set, carefully pour the white mixture over it, filling the cups to the top. Refrigerate until fully set (at least 2-3 hours, or overnight).
Important Information
Nutrition Facts (Per Serving)
It is important to consider this information as approximate and not to use it as definitive health advice.
Allergy Information
Please check ingredients for potential allergens and consult a health professional if in doubt.