Best Chocolate Chip Banana Bread Recipe Easy
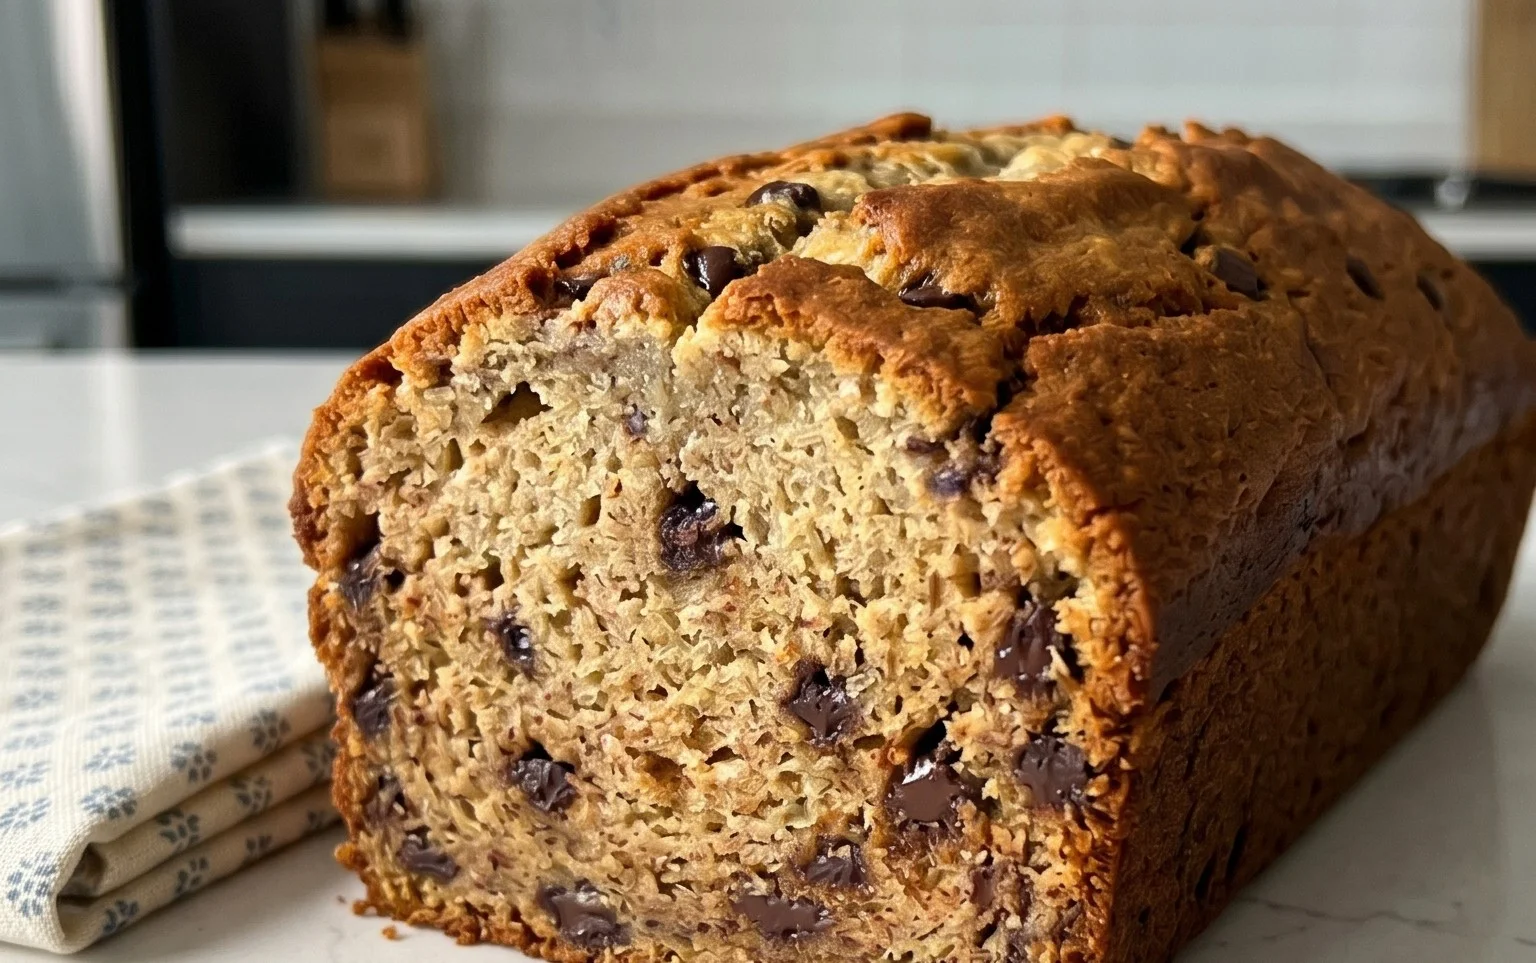
Chocolate Chip Banana Bread is more than just a breakfast treat; it’s a hug in a loaf, a fragrant promise of comfort on a chilly morning or a sweet reward after a long day. We all have that soft spot for banana bread, don’t we? It’s that classic, reliable flavor that transports us back to childhood kitchens, filled with warmth and the irresistible aroma of baking. But what takes this beloved staple from good to absolutely divine? It’s the magic touch of melt-in-your-mouth chocolate chips nestled within the tender, moist crum extractb of perfectly ripe bananas. This isn’t just any banana bread; this Chocolate Chip Banana Bread is the ultimate fusion of familiar comfort and decadent indulgence, a guaranteed crowd-pleaser that will have everyone asking for seconds.
Why You’ll Adore This Recipe
The Perfect Balance of Sweetness and Richness
Chocolate Chip Banana Bread
There’s something incredibly comforting about a warm slice of homemade banana bread. The sweet, fragrant aroma filling your kitchen is a promise of pure deliciousness. But when you add a generous handful of melty chocolate chips, you elevate that comfort to a whole new level. This Chocolate Chip Banana Bread recipe is my go-to. It’s incredibly forgiving, uses simple ingredients, and always turns out perfectly moist and studded with gooey pockets of chocolate. The secret to its fantastic texture and flavor lies in using very ripe bananas – the spottier, the better! Don’t toss those overripe bananas; they are the key to a naturally sweet and deeply flavored bread.
This recipe is perfect for breakfast, a delightful afternoon snack, or even a simple dessert. It’s the kind of recipe that makes you feel like a baking pro, even if you’re a begin extractner. Let’s gather our ingredients and get baking!
Ingredients:
Getting Started: Prep Your Station
Before we dive into mixing, let’s get everything ready. Preheat your oven to 350°F (175°C). This is a crucial step; a properly preheated oven ensures even baking and prevents your banana bread from sinking in the middle or burning on the outside. Next, prepare your loaf pan. I like to grease and flour a standard 9×5 inch loaf pan. You can also line it with parchment paper, leaving some overhang on the sides, which makes lifting the baked bread out a breeze. Setting up your ingredients beforehand, often called “mise en place,” makes the whole baking process smoother and more enjoyable. Ensure your butter is softened to room temperature – it should yield slightly when you press it with your finger, but not be melted. Similarly, have your eggs at room temperature; this helps them incorporate more easily into the batter, leading to a lighter, more consistent texture.
Step-by-Step Baking Bliss
1. In a large mixing bowl, cream together the softened unsalted butter and granulated sugar until the mixture is light and fluffy. This process, often done with an electric mixer on medium speed, incorporates air into the batter, which contributes to a tender crum extractb. Scrape down the sides of the bowl periodically to ensure everything is well combined. The sugar crystals will also start to dissolve, creating a smooth, almost paste-like consistency. This is your flavor base, so don’t rush it!
2. Add the room-temperature eggs one at a time, beating well after each addition. Then, stir in the mashed ripe bananas and the vanilla extract. For the bananas, I like to mash them with a fork right in their peels for minimal mess, or place them in a bowl and mash away. You want them to be mostly mashed but with a few small lumps remaining; these little banana pockets add wonderful texture and moisture. The vanilla extract enhances the banana and chocolate flavors, so don’t skip it!
3. In a separate medium bowl, whisk together the all-purpose flour, baking soda, and salt. Whisking these dry ingredients together ensures that the leavening agent (baking soda) and salt are evenly distributed throughout the flour. This is important for consistent rising and flavor. Baking soda needs an acidic component to react, and the bananas provide that, helping the bread to rise beautifully.
4. Gradually add the dry ingredients to the wet ingredients, mixing on low speed or by hand until just combined. Be careful not to overmix the batter at this stage. Overmixing can develop the gluten in the flour too much, resulting in a tough, dense bread. A few streaks of flour remaining are perfectly fine; they will disappear during baking.
5. Gently fold in ¾ cup of the semisweet chocolate chips into the batter. Reserve the remaining ¼ cup of chocolate chips to sprinkle over the top before baking. Folding the chips in by hand with a spatula helps prevent them from breaking down too much and ensures they are evenly distributed. These will be the hidden pockets of gooey goodness throughout your bread.
6. Pour the batter into your prepared loaf pan and spread it evenly. Sprinkle the reserved ¼ cup of chocolate chips over the top of the batter. You can also press a few chocolate chips gently into the surface. This creates a beautiful, chocolatey crust.
7. Bake for 50-65 minutes, or until a wooden skewer or toothpick inserted into the center of the loaf comes out clean or with moist crum extractbs attached (but no wet batter). The baking time can vary depending on your oven, so keep an eye on it. If the top of the bread starts to brown too quickly, you can loosely tent it with aluminum foil for the remainder of the baking time.
Cooling and Enjoying
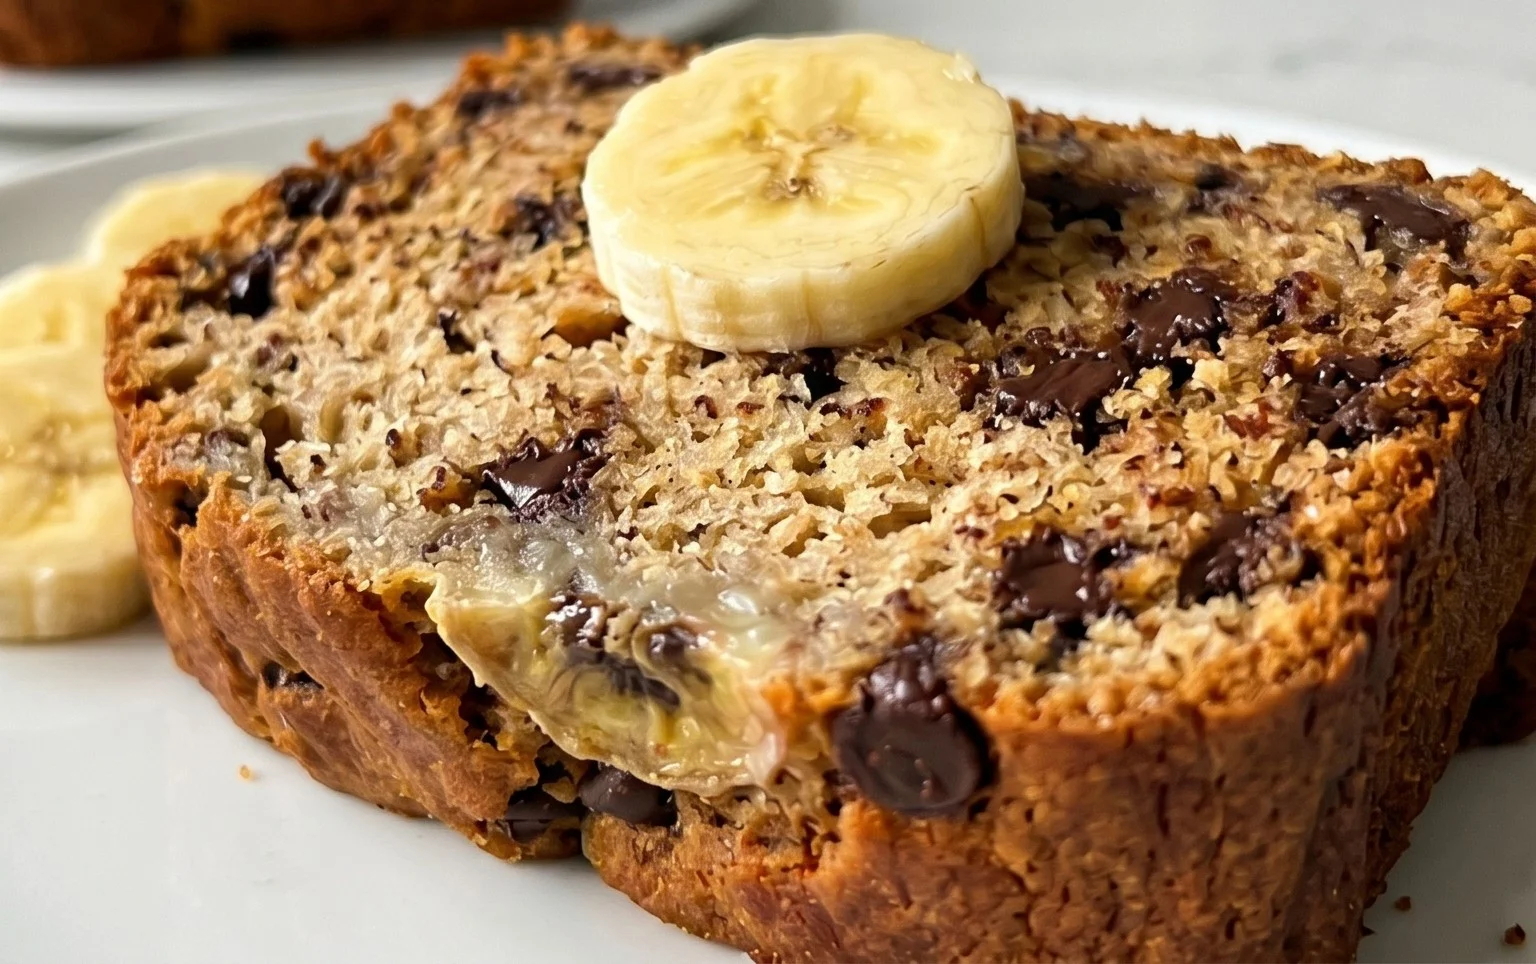
Once your banana bread is out of the oven, resist the urge to slice into it immediately. Let it cool in the loaf pan for about 10-15 minutes. This allows the bread to set up and firm slightly, making it easier to remove from the pan without it breaking apart. Then, carefully invert the loaf onto a wire rack to cool completely. This is the hardest part – waiting for it to cool! But the wait is worth it for the perfect texture and to allow the flavors to meld. Once cooled, slice it up and enjoy the fruits of your labor. This Chocolate Chip Banana Bread is delicious on its own, but it’s also fantastic with a smear of butter or cream cheese. Store any leftovers in an airtight container at room temperature for up to three days, or freeze slices for longer storage. Happy baking!
Conclusion:
And there you have it – the ultimate guide to creating your perfect loaf of Chocolate Chip Banana Bread! This recipe isn’t just about baking; it’s about creating a warm, comforting aroma that fills your home and a treat that brings smiles to faces. The beauty of this chocolate chip banana bread lies in its incredible simplicity, yielding a moist, flavorful loaf bursting with sweet banana goodness and decadent chocolate chips. It’s the perfect way to use up those overripe bananas lurking on your counter, transforming them into something truly special.
Imagin extracte this glorious bread served warm, perhaps with a dollop of butter or a drizzle of honey. It’s fantastic on its own with a cup of coffee or tea for breakfast, a delightful afternoon snack, or even as a simple, yet impressive, dessert. Don’t be afraid to get creative! You can easily elevate this recipe by adding a sprinkle of cinnamon or nutmeg to the batter for an extra layer of spice, or even folding in some chopped walnuts or pecans for a delightful crunch. The possibilities are endless, and I encourage you to give this delightful Chocolate Chip Banana Bread a try. You won’t be disappointed!
Frequently Asked Questions:
Why is my banana bread so dense?
Density in banana bread can often be caused by overmixing the batter. Once you add the dry ingredients, mix just until they are incorporated. Overmixing develops the gluten in the flour, leading to a tougher, denser texture. Also, ensure your bananas are truly ripe – the riper they are, the more moisture and natural sweetness they contribute, resulting in a lighter loaf.
Can I make this recipe ahead of time?
Absolutely! Chocolate chip banana bread is even better the next day as the flavors have had time to meld. Once completely cooled, you can store it at room temperature in an airtight container or wrap it tightly in plastic wrap for up to 3-4 days. For longer storage, you can freeze slices or the whole loaf, well-wrapped, for up to 3 months.
Chocolate Chip Banana Bread
A moist and delicious banana bread loaded with chocolate chips, perfect for any occasion.
Ingredients
-
1/2 cup unsalted butter, softened
-
2/3 cup granulated sugar
-
2 large eggs, room temperature
-
3 medium/large bananas, very ripe, about 1 3/4 cups mashed
-
1/2 tsp vanilla extract
-
1 1/2 cups all-purpose flour
-
1 tsp baking soda
-
1/2 tsp salt
-
1 cup semisweet chocolate chips, divided
Instructions
-
Step 1
Preheat oven to 350°F (175°C). Grease and flour a 9×5 inch loaf pan. -
Step 2
In a large bowl, cream together the softened butter and granulated sugar until light and fluffy. -
Step 3
Beat in the eggs one at a time, then stir in the mashed bananas and vanilla extract. -
Step 4
In a separate bowl, whisk together the all-purpose flour, baking soda, and salt. -
Step 5
Gradually add the dry ingredients to the wet ingredients, mixing until just combined. Fold in 1/2 cup of the chocolate chips. -
Step 6
Pour the batter into the prepared loaf pan and sprinkle the remaining 1/2 cup of chocolate chips over the top. -
Step 7
Bake for 50-65 minutes, or until a wooden skewer inserted into the center comes out clean. -
Step 8
Let the bread cool in the pan for 10 minutes before transferring it to a wire rack to cool completely.
Important Information
Nutrition Facts (Per Serving)
It is important to consider this information as approximate and not to use it as definitive health advice.
Allergy Information
Please check ingredients for potential allergens and consult a health professional if in doubt.