Crispy Korean Fried Chicken Recipe – Easy & Delicious
Korean fried chicken recipe perfection is an achievable dream, and I’m here to guide you through it! Forget the soggy, greasy versions you might have encountered elsewhere. We’re talking about a truly transcendent culinary experience – that impossibly crispy, shatteringly crunchy exterior giving way to incredibly juicy, tender chicken within. It’s no wonder that Korean fried chicken has taken the world by storm. It’s the ultimate comfort food, a crave-worthy snack, and the star of any party. What truly sets this Korean fried chicken recipe apart is the delicate balance of flavors and textures. It’s not just about frying; it’s about the meticulous preparation, the thoughtful layering of seasonings, and that magical double-frying technique that creates unparalleled crispiness. Get ready to impress yourself and everyone lucky enough to share this amazing dish with you.
Korean Fried Chicken Recipe
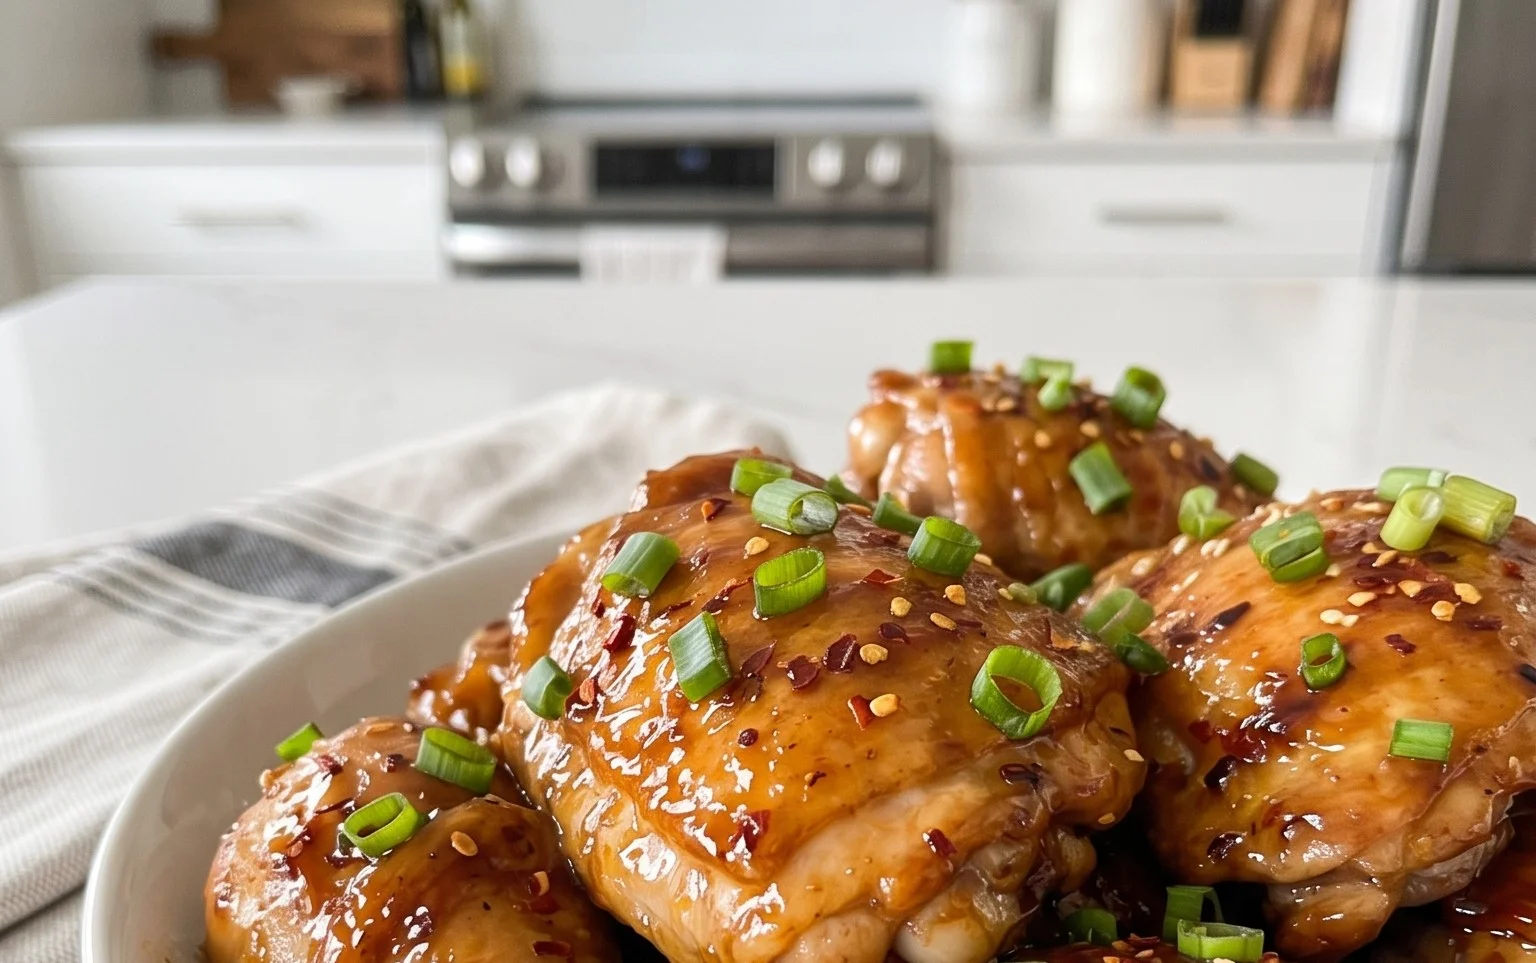
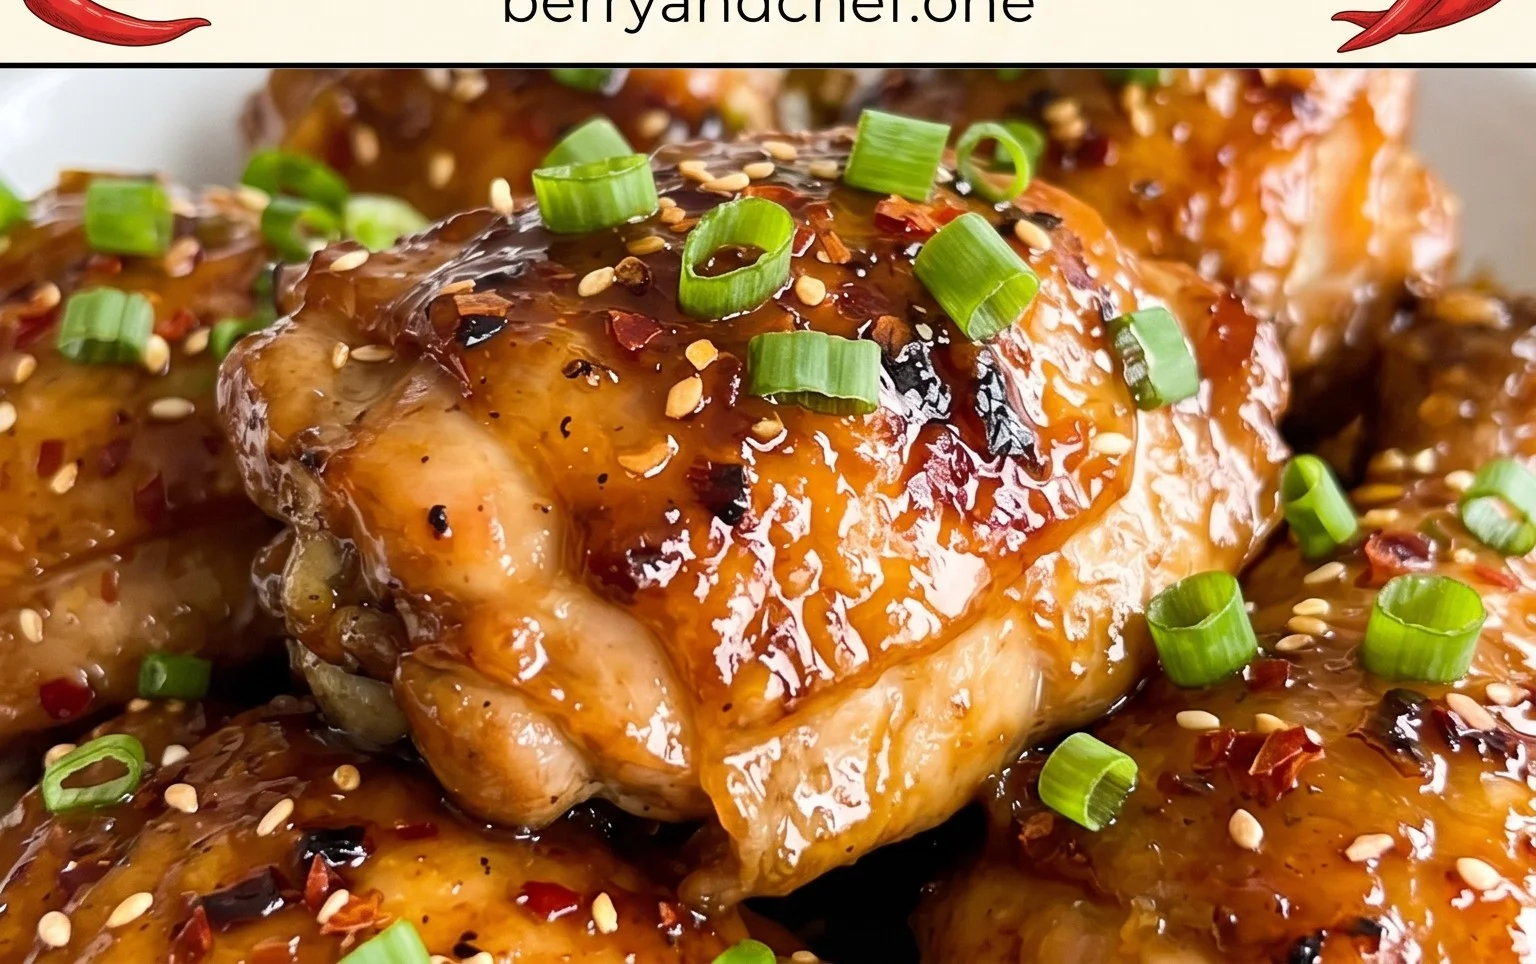
Korean fried chicken, or chikin as it’s affectionately known in Korea, is a global phenomenon for a reason. It’s not just fried chicken; it’s an experience. The hallmark of true Korean fried chicken lies in its impossibly crispy, crackly exterior, achieved through a double-frying process, and a tender, juicy interior. Unlike its Western counterparts, the batter is often light and airy, allowing the distinct flavor of the chicken to shine through, while a sweet and spicy glaze provides the irresistible finishing touch. Today, we’re diving into making this sensational dish right in your own kitchen. Forget soggy, greasy takeout; this recipe will guide you to perfectly crisp, flavorful Korean fried chicken that will have everyone asking for seconds.
This recipe focuses on creating that signature crunch, so let’s get started with the essentials.
Ingredients:
Preparing the Chicken for Maximum Crunch
The secret to tender, flavorful chicken starts before it even hits the fryer. We’ll be marinating our chicken strips in a simple yet effective buttermilk brine. This step not only helps to tenderize the chicken but also adds a subtle tang and helps the coating adhere better.
1. Begin extract by placing your sliced chicken breast strips into a medium-sized bowl. In a separate smaller bowl, whisk together the buttermilk, 1/2 teaspoon of salt, 1/4 teaspoon of white pepper, and 1/4 teaspoon of garlic salt. Pour this mixture over the chicken, ensuring all the pieces are fully submerged. Cover the bowl tightly with plastic wrap and refrigerate for at least 30 minutes, or ideally for 2-4 hours. The longer it marinates, the more tender and flavorful your chicken will become. If you’re short on time, even 30 minutes will make a noticeable difference.
Crafting the Crispy Coating
The magic of Korean fried chicken’s crunch lies in its batter. We’re using a dry coating that, when combined with the marinated chicken and double frying, creates that unmistakable shatteringly crisp exterior.
2. While the chicken is marinating, prepare your dry coating. In a large bowl or shallow dish, combine the plain flour, 1 teaspoon of salt, 1 teaspoon of ground black pepper, 1/2 teaspoon of garlic salt, ½ teaspoon of celery salt, 1 teaspoon of dried thyme, 1 teaspoon of paprika, 1 teaspoon of baking powder, and 1 teaspoon of chilli flakes. Whisk these ingredients thoroughly until they are well combined. The baking powder is crucial here; it acts as a leavening agent, contributing to a lighter, crispier coating. The chilli flakes add a subtle warmth that complements the eventual glaze beautifully.
The Double Frying Technique
This is where the true transformation happens. Double frying ensures that the chicken is cooked through and that the exterior develops multiple layers of crispiness.
3. Once the chicken has finished marinating, it’s time to coat it. Remove the chicken pieces from the buttermilk, letting any excess drip off, but don’t wipe them completely dry. Dredge each chicken strip generously in the seasoned flour mixture, ensuring it’s fully coated. Shake off any excess flour. You want a good coating, but not so much that it becomes clumpy. Some people like to double-dip for an extra thick crust, meaning after the first dredge, dip the chicken back into the buttermilk briefly and then dredge again in the flour. For this recipe, a single, thorough coating is perfect. Set the coated chicken aside on a wire rack while you heat the oil.
4. Heat your oil in a large, heavy-bottomed pot or Dutch oven to 170°C (340°F). It’s important to use enough oil for the chicken to be submerged, ensuring even cooking and preventing sticking. If you don’t have a thermometer, you can test the oil by dropping a small piece of batter into it; it should sizzle vigorously and rise to the surface. Carefully add a single layer of the coated chicken strips to the hot oil. Do not overcrowd the pot, as this will lower the oil temperature and result in greasy, soggy chicken. Fry the chicken in batches for about 5-7 minutes, or until it’s a pnon-alcoholic ale golden brown and cooked through. The chicken should be firm to the touch but still pliable. Remove the chicken from the oil and place it on a wire rack set over a baking sheet to drain and rest. This initial fry cooks the chicken and sets the coating.
5. Now for the second fry! Increase the oil temperature to 190°C (375°F). Once the oil is hot, carefully return the partially fried chicken pieces to the oil, again in batches. Fry for another 2-3 minutes, or until the chicken is a deep golden brown and exceptionally crispy. This second fry is what gives Korean fried chicken its signature crunch. It’s a quick fry that crisps up the exterior to perfection. Remove the chicken from the oil and place it back on the wire rack to drain. You should hear an audible crunch when you pick up a piece!
The Irresistible Glaze (Optional but Highly Recommended)
While plain Korean fried chicken is delicious, a glaze takes it to another level. You can create a classic sweet and spicy gochujang-based glaze or a soy-garlic glaze. For a simple, classic sweet and spicy glaze, you can whisk together 4 tablespoons of gochujang (Korean chili paste), 2 tablespoons of honey or corn syrup, 1 tablespoon of soy sauce, 1 tablespoon of rice vinegar, 1 clove of minced garlic, and 1 teaspoon of sesame oil in a small saucepan. Heat gently over low heat until combined and slightly thickened. Toss the freshly fried chicken in the warm glaze immediately before serving.
Serve your glorious Korean fried chicken hot, perhaps with some pickled radishes or a simple salad, and prepare for a truly delightful culinary experience! Enjoy every crispy, juicy bite.
Conclusion:
There you have it! This Korean Fried Chicken recipe is an absolute game-changer for any chicken lover. The double-frying technique creates an unbelievably crispy exterior that holds up beautifully, while the sweet, spicy, and savory glaze is utterly addictive. It’s a dish that’s perfect for sharing with friends, impressing guests, or simply treating yourself to something incredibly delicious. The combination of textures and flavors is truly what makes Korean Fried Chicken so special, and I’m confident you’ll find this recipe a resounding success.
For serving, I love pairing this Korean Fried Chicken with simple sides that balance its richness. Think of fluffy white rice, quick pickled radishes (danmuji), a refreshing kimchi, or even a simple cucumber salad. You can also get creative with variations! Consider adding a sprinkle of toasted sesame seeds, chopped scallions, or even a dusting of chili flakes for extra heat. Don’t be afraid to experiment with the glaze – perhaps a honey-garlic version or a gochujang-heavy spicy kick? I truly encourage you to dive in and experience the joy of making and devouring this fantastic dish. It’s surprisingly achievable and oh-so-rewarding!
Frequently Asked Questions:
Why is my Korean Fried Chicken not crispy enough?
The key to ultimate crispiness is the double-frying method. Ensure your oil is at the correct temperature (around 350°F or 175°C) for both frying sessions. Also, make sure not to overcrowd the fryer, as this can lower the oil temperature and lead to greasy, less crispy chicken. Letting the chicken rest between fries also helps.
Can I make the glaze ahead of time?
Absolutely! The glaze can be made a day or two in advance and stored in an airtight container in the refrigerator. Gently warm it on the stovetop or in the microwave before tossing with the fried chicken. This makes assembly even quicker!
What kind of chicken cut is best for this recipe?
Bone-in, skin-on pieces like thighs and drum extractsticks are fantastic as they stay incredibly juicy during the frying process. However, boneless, skinless thighs or even chicken wings will also work well, though cooking times may vary slightly.
Korean Fried Chicken Recipe
Crispy, spicy, and savory Korean fried chicken, perfect for a snack or main course. This recipe delivers that irresistible crunch and flavor.
Ingredients
-
4 chicken breasts ((approx 700g or 1.5lb) sliced into long thick strips)
-
240 ml (1 cup) buttermilk
-
1/2 tsp salt
-
1/4 tsp white pepper
-
1/4 tsp garlic salt
-
180 g (1 1/2 cups) plain (all-purpose) flour
-
1 tsp salt
-
1 tsp ground black pepper
-
1/2 tsp garlic salt
-
1/2 tsp celery salt
-
1 tsp dried thyme
-
1 tsp paprika
-
1 tsp baking powder
-
1 tsp chilli flakes
-
oil for deep frying ((at least 1 litre/four cups) I use avocado oil, but other neutral oils such as sunflower or canola work too.)
Instructions
-
Step 1
In a bowl, combine the chicken strips with buttermilk, 1/2 tsp salt, 1/4 tsp white pepper, and 1/4 tsp garlic salt. Marinate for at least 30 minutes, or preferably longer in the refrigerator. -
Step 2
In a separate shallow dish, whisk together the plain flour, 1 tsp salt, 1 tsp ground black pepper, 1/2 tsp garlic salt, 1/2 tsp celery salt, 1 tsp dried thyme, 1 tsp paprika, 1 tsp baking powder, and 1 tsp chilli flakes. -
Step 3
Drain the excess buttermilk from the chicken strips and dredge them thoroughly in the seasoned flour mixture, ensuring each piece is well-coated. -
Step 4
Heat at least 1 litre (4 cups) of oil in a deep pot or Dutch oven to 180°C (350°F). -
Step 5
Carefully add the floured chicken pieces to the hot oil in batches, being careful not to overcrowd the pot. Fry for about 5-7 minutes per side, or until golden brown and cooked through. -
Step 6
Remove the fried chicken from the oil and place on a wire rack set over a baking sheet to drain any excess oil. Serve immediately.
Important Information
Nutrition Facts (Per Serving)
It is important to consider this information as approximate and not to use it as definitive health advice.
Allergy Information
Please check ingredients for potential allergens and consult a health professional if in doubt.